Deliciously Sweet and Savory: How to Make Boston Brown Bread

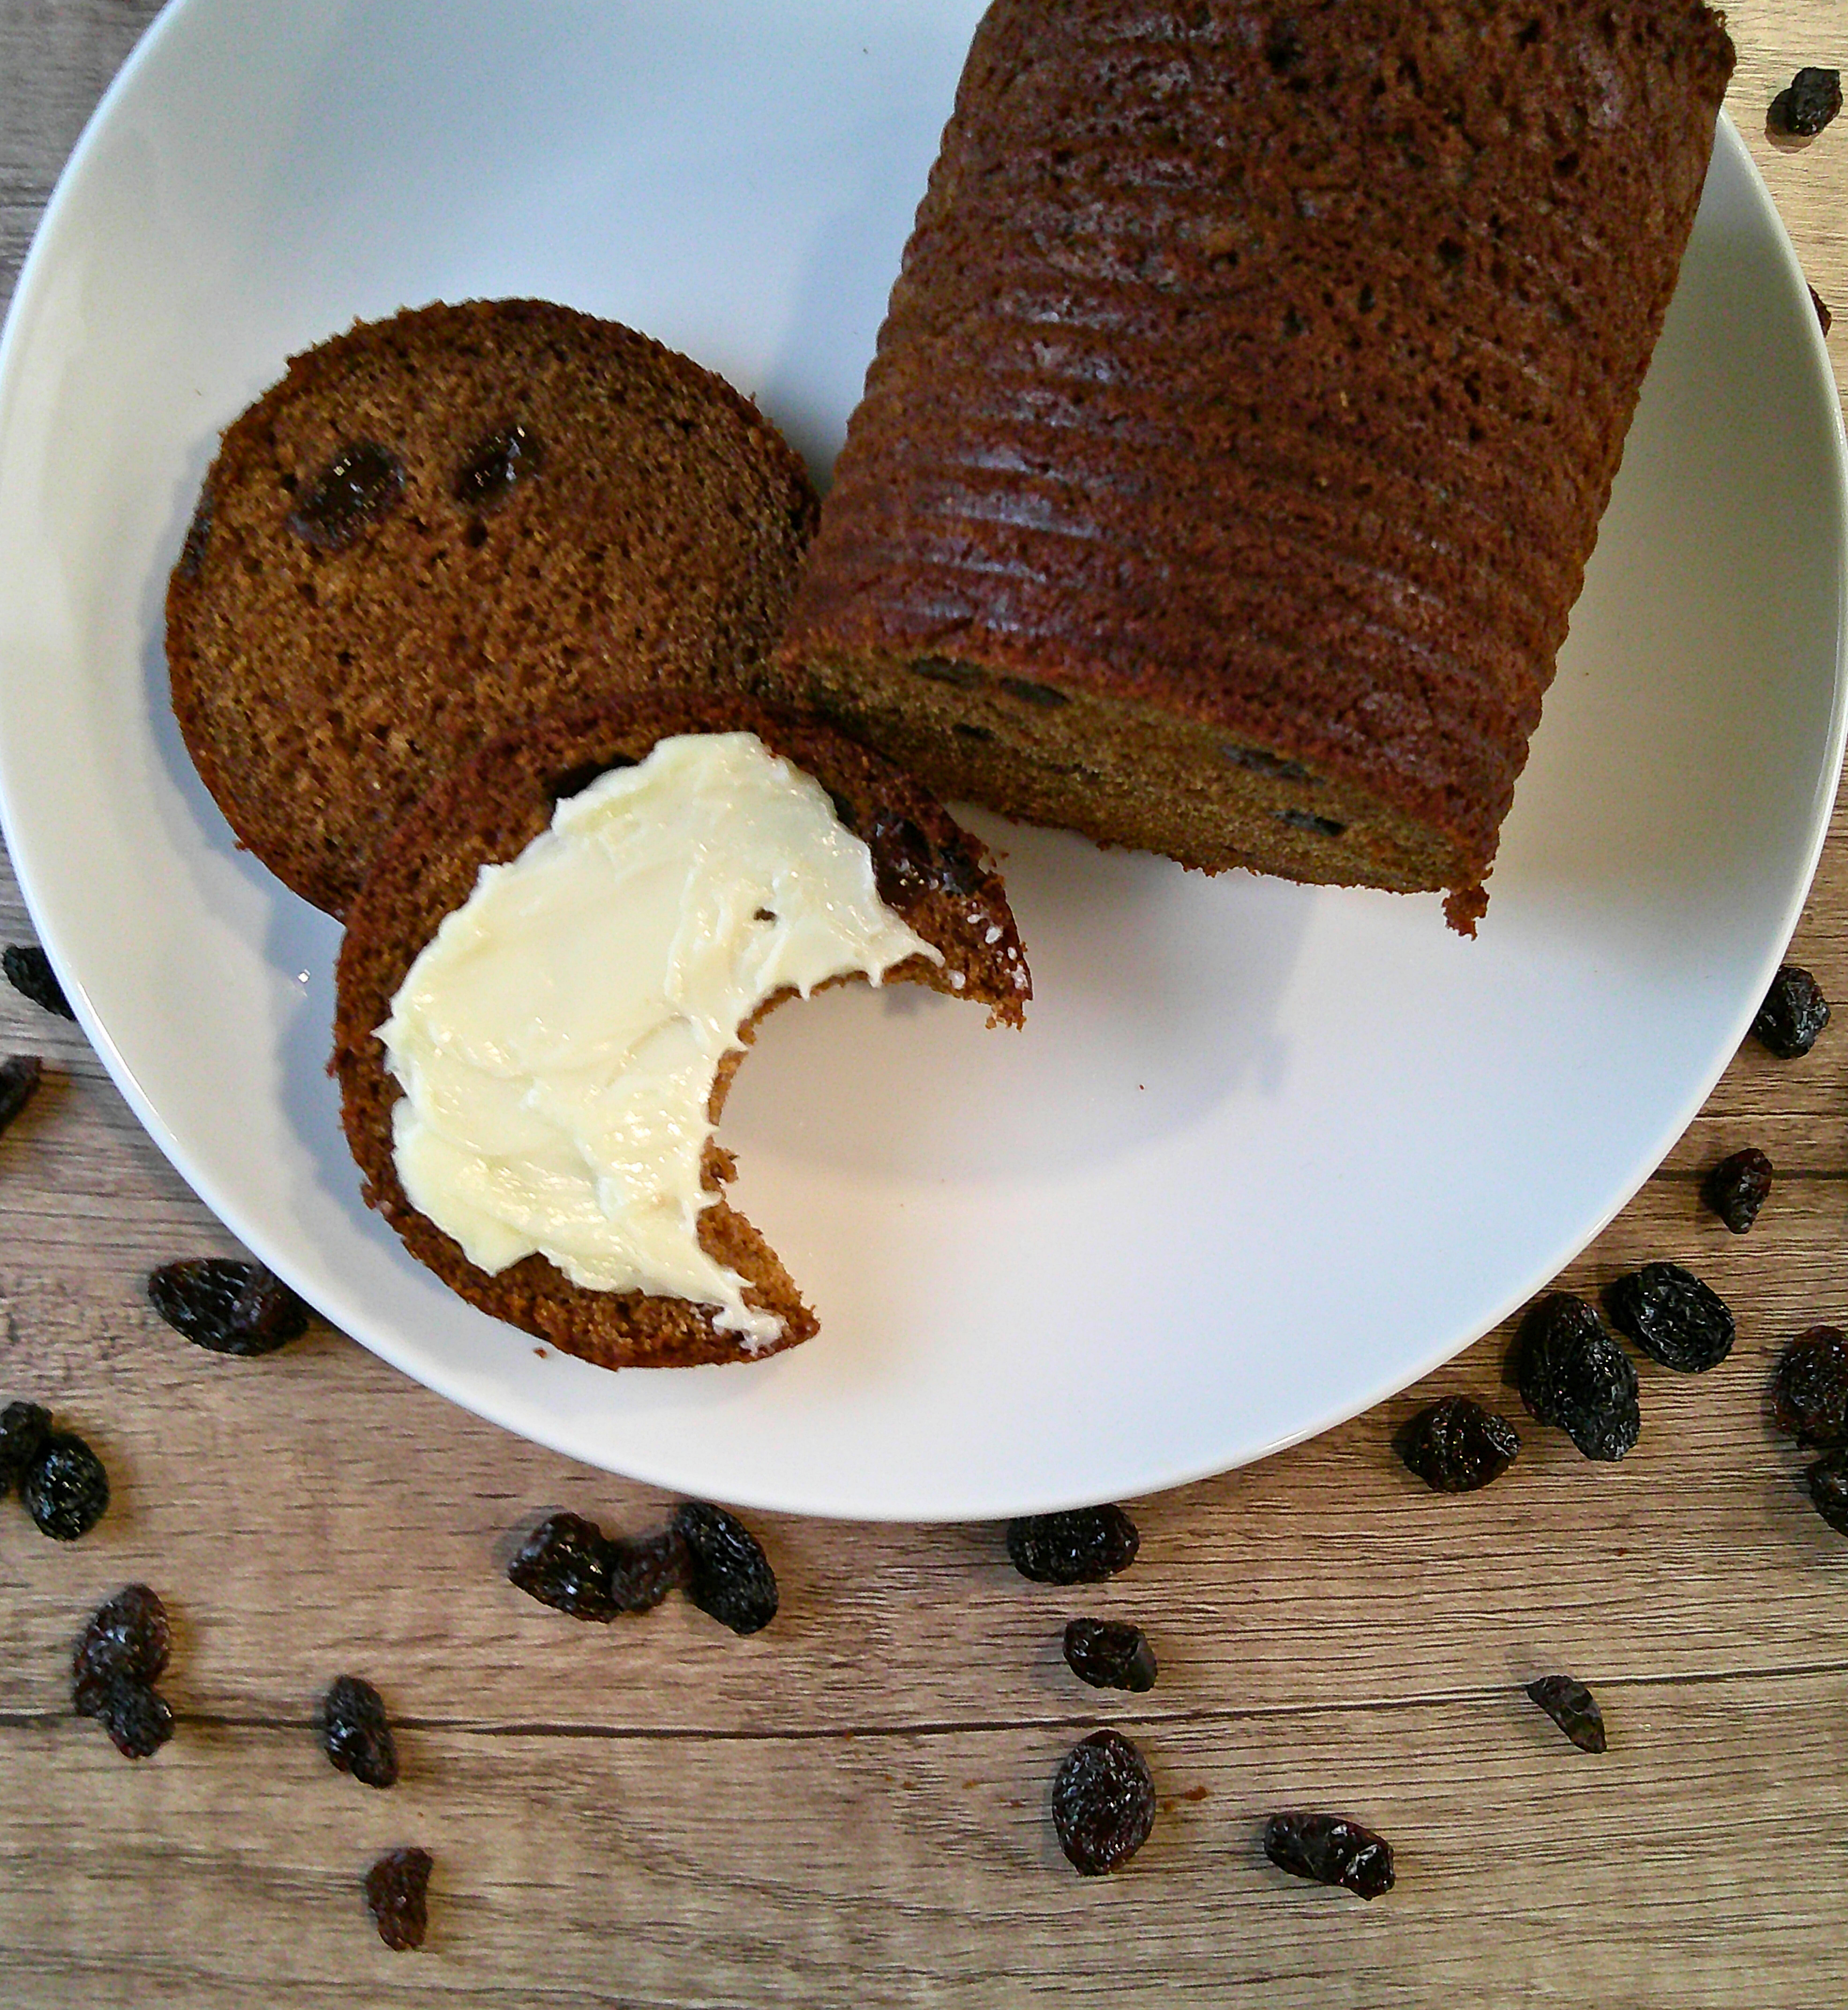
There’s something about the rich, molasses-infused goodness of Boston brown bread that takes us straight to the heart of New England traditions. This dark, dense bread is the perfect mix of sweet and savory, with a unique, slightly crumbly texture that complements a variety of meals. Whether you’ve had it as a side to baked beans or used it to sop up gravy at Thanksgiving, Boston brown bread brings that old-world charm to your table.
In this post, we’ll dive into the traditional recipe for Boston brown bread, answer some frequently asked questions, offer some fun variations, provide pairing suggestions, and give you tips on storing and freezing. Let’s get baking!
Boston Brown Bread Recipe
Here’s the full recipe for you to follow at home. It’s simple, straightforward, and results in a loaf with a soft crumb and plenty of rich flavor.
Ingredients:
- ½ cup molasses
- ½ cup sugar
- 2 ½ teaspoons baking soda
- 2 cups buttermilk
- 1 teaspoon salt
- 1 egg
- 2 ½ cups wheat flour
- ½ cup white flour
- 1 teaspoon baking powder
- 1 cup raisins (plumped)
Instructions:
- Preheat your oven to 350°F (175°C).
- Grease and flour five 15-ounce cans and fill each can halfway with the batter.
- Cover the tops of the cans with a cookie sheet to prevent them from drying out while baking.
- Bake the bread for 50 minutes at 350°F.
- After 50 minutes, remove the cookie sheet and bake uncovered for an additional 10 minutes, allowing the bread to form a nice crust.
- Carefully remove the bread from the cans while it’s still hot to prevent sticking.
Now you’ve got yourself some freshly baked Boston brown bread! Let’s break it down further with some useful tips and tricks.
Frequently Asked Questions
What is the origin of Boston brown bread?
Boston brown bread has roots in early American history, particularly in New England. It’s typically steamed, but baking it in the oven is a popular alternative. The molasses and raisins give it a signature sweetness, making it the perfect pairing for savory dishes.
Why use cans to bake the bread?
The use of cans is a nod to tradition. In the past, people would steam the bread in cylindrical containers. While steaming is more traditional, baking in cans helps give the bread its classic shape while providing an easy method for modern kitchens. Plus, the small size of the cans ensures quicker baking and a moist crumb.
Do I need to plump the raisins?
Yes, plumping the raisins is an important step to ensure they don’t dry out during baking. To plump raisins, you can soak them in warm water or apple juice for about 10–15 minutes before adding them to the batter. This small step makes a huge difference in texture.
Can I substitute the molasses?
Molasses is essential for the authentic flavor of Boston brown bread, but you can substitute it with dark corn syrup or maple syrup in a pinch. Just note that the flavor will be slightly different—molasses gives a deep, rich sweetness that other syrups can’t fully replicate.
Variations on the Recipe
While this is a traditional Boston brown bread recipe, there’s always room to play around and make it your own. Here are some fun variations you can try:
- Cranberry-Walnut Boston Brown Bread
For a seasonal twist, substitute the raisins with dried cranberries and add a handful of chopped walnuts. The tartness of the cranberries balances the sweetness, while the walnuts add a pleasant crunch. - Gluten-Free Boston Brown Bread
If you’re gluten-sensitive or want to make this recipe gluten-free, simply swap the wheat flour and white flour with a 1:1 gluten-free baking flour mix. It will still retain the flavor, though the texture may be a little less dense. - Vegan Boston Brown Bread
For a vegan version, replace the egg with a flax egg (1 tablespoon flaxseed meal + 3 tablespoons water) and use a plant-based buttermilk substitute. To make your own buttermilk substitute, mix 2 cups of almond or soy milk with 2 tablespoons of lemon juice or vinegar, and let it sit for 5–10 minutes before using. - Spiced Boston Brown Bread
For an autumn-inspired loaf, add 1 teaspoon of ground cinnamon and ½ teaspoon of ground nutmeg to the dry ingredients. The warm spices complement the molasses flavor perfectly, making it a great option for chilly evenings.
Pairing Suggestions
Boston brown bread is delicious on its own, but it really shines when paired with the right accompaniments. Here are a few ideas to elevate your brown bread experience:
- Baked Beans: The traditional pairing in New England is Boston brown bread with baked beans. The sweetness of the bread balances out the savory, smoky flavors of the beans, making for a comforting, hearty meal.
- Cream Cheese or Soft Cheeses: The sweetness of the bread pairs beautifully with cream cheese, goat cheese, or Brie. The creamy texture of these cheeses contrasts nicely with the dense bread.
- Butter and Jam: A simple spread of butter and your favorite jam (try raspberry or blackberry for a tart kick) is always a classic way to enjoy Boston brown bread.
- Soup or Stew: Serve your brown bread alongside a steaming bowl of soup or stew. It’s perfect for dunking and sopping up those delicious broths and gravies.
- Ham or Bacon: For breakfast or brunch, consider pairing your Boston brown bread with ham or bacon. The salty-savory flavors will play off the sweetness of the bread beautifully.
Storing and Freezing Boston Brown Bread
Boston brown bread stores well, making it great for meal prepping or enjoying over a few days. Here’s how you can keep it fresh:
Room Temperature:
Wrap the bread tightly in plastic wrap or store it in an airtight container. At room temperature, it will stay fresh for about 2–3 days.
Refrigeration:
For longer storage, refrigerate the bread. It will keep for up to a week in the fridge. Just be sure to wrap it tightly to prevent it from drying out.
Freezing:
Boston brown bread freezes exceptionally well. To freeze, wrap each loaf (or individual slices) in plastic wrap, then place them in a freezer-safe bag or container. The bread will last up to 3 months in the freezer. When you’re ready to enjoy it, simply let it thaw at room temperature or warm it up in the microwave or toaster oven.
Wrapping It Up
Boston brown bread is one of those classic recipes that’s been around for generations, and for good reason! Its sweet, hearty flavor makes it the perfect complement to a variety of meals, or a delicious treat on its own. Whether you’re sticking with the traditional recipe or adding your own modern twist, there’s no wrong way to enjoy this beloved bread.
Give it a try, and don’t forget to share how you like to pair or customize your Boston brown bread! Happy baking!
Boston Brown Bread
Ingredients
- 1/2 cup molasses
- 1/2 cup sugar
- 2 1/2 tsp baking soda
- 2 cups buttermilk
- 1 tsp salt
- 1 egg
- 2 1/2 cups whole wheat flour
- 1/2 cup all-purpose flour
- 1 tsp baking powder
- 1 cup raisins plumped
Instructions
- Preheat the oven to 350°F (175°C).
- Grease and flour five 15-ounce cans and fill each halfway with the batter.
- Cover the cans with a cookie sheet and bake for 50 minutes.
- After 50 minutes, uncover and bake for an additional 10 minutes to form a crust.
- Carefully remove the bread from the cans while still hot. Serve warm or at room temperature.