Classic Red Velvet Cupcakes with the Best Cream Cheese Frosting
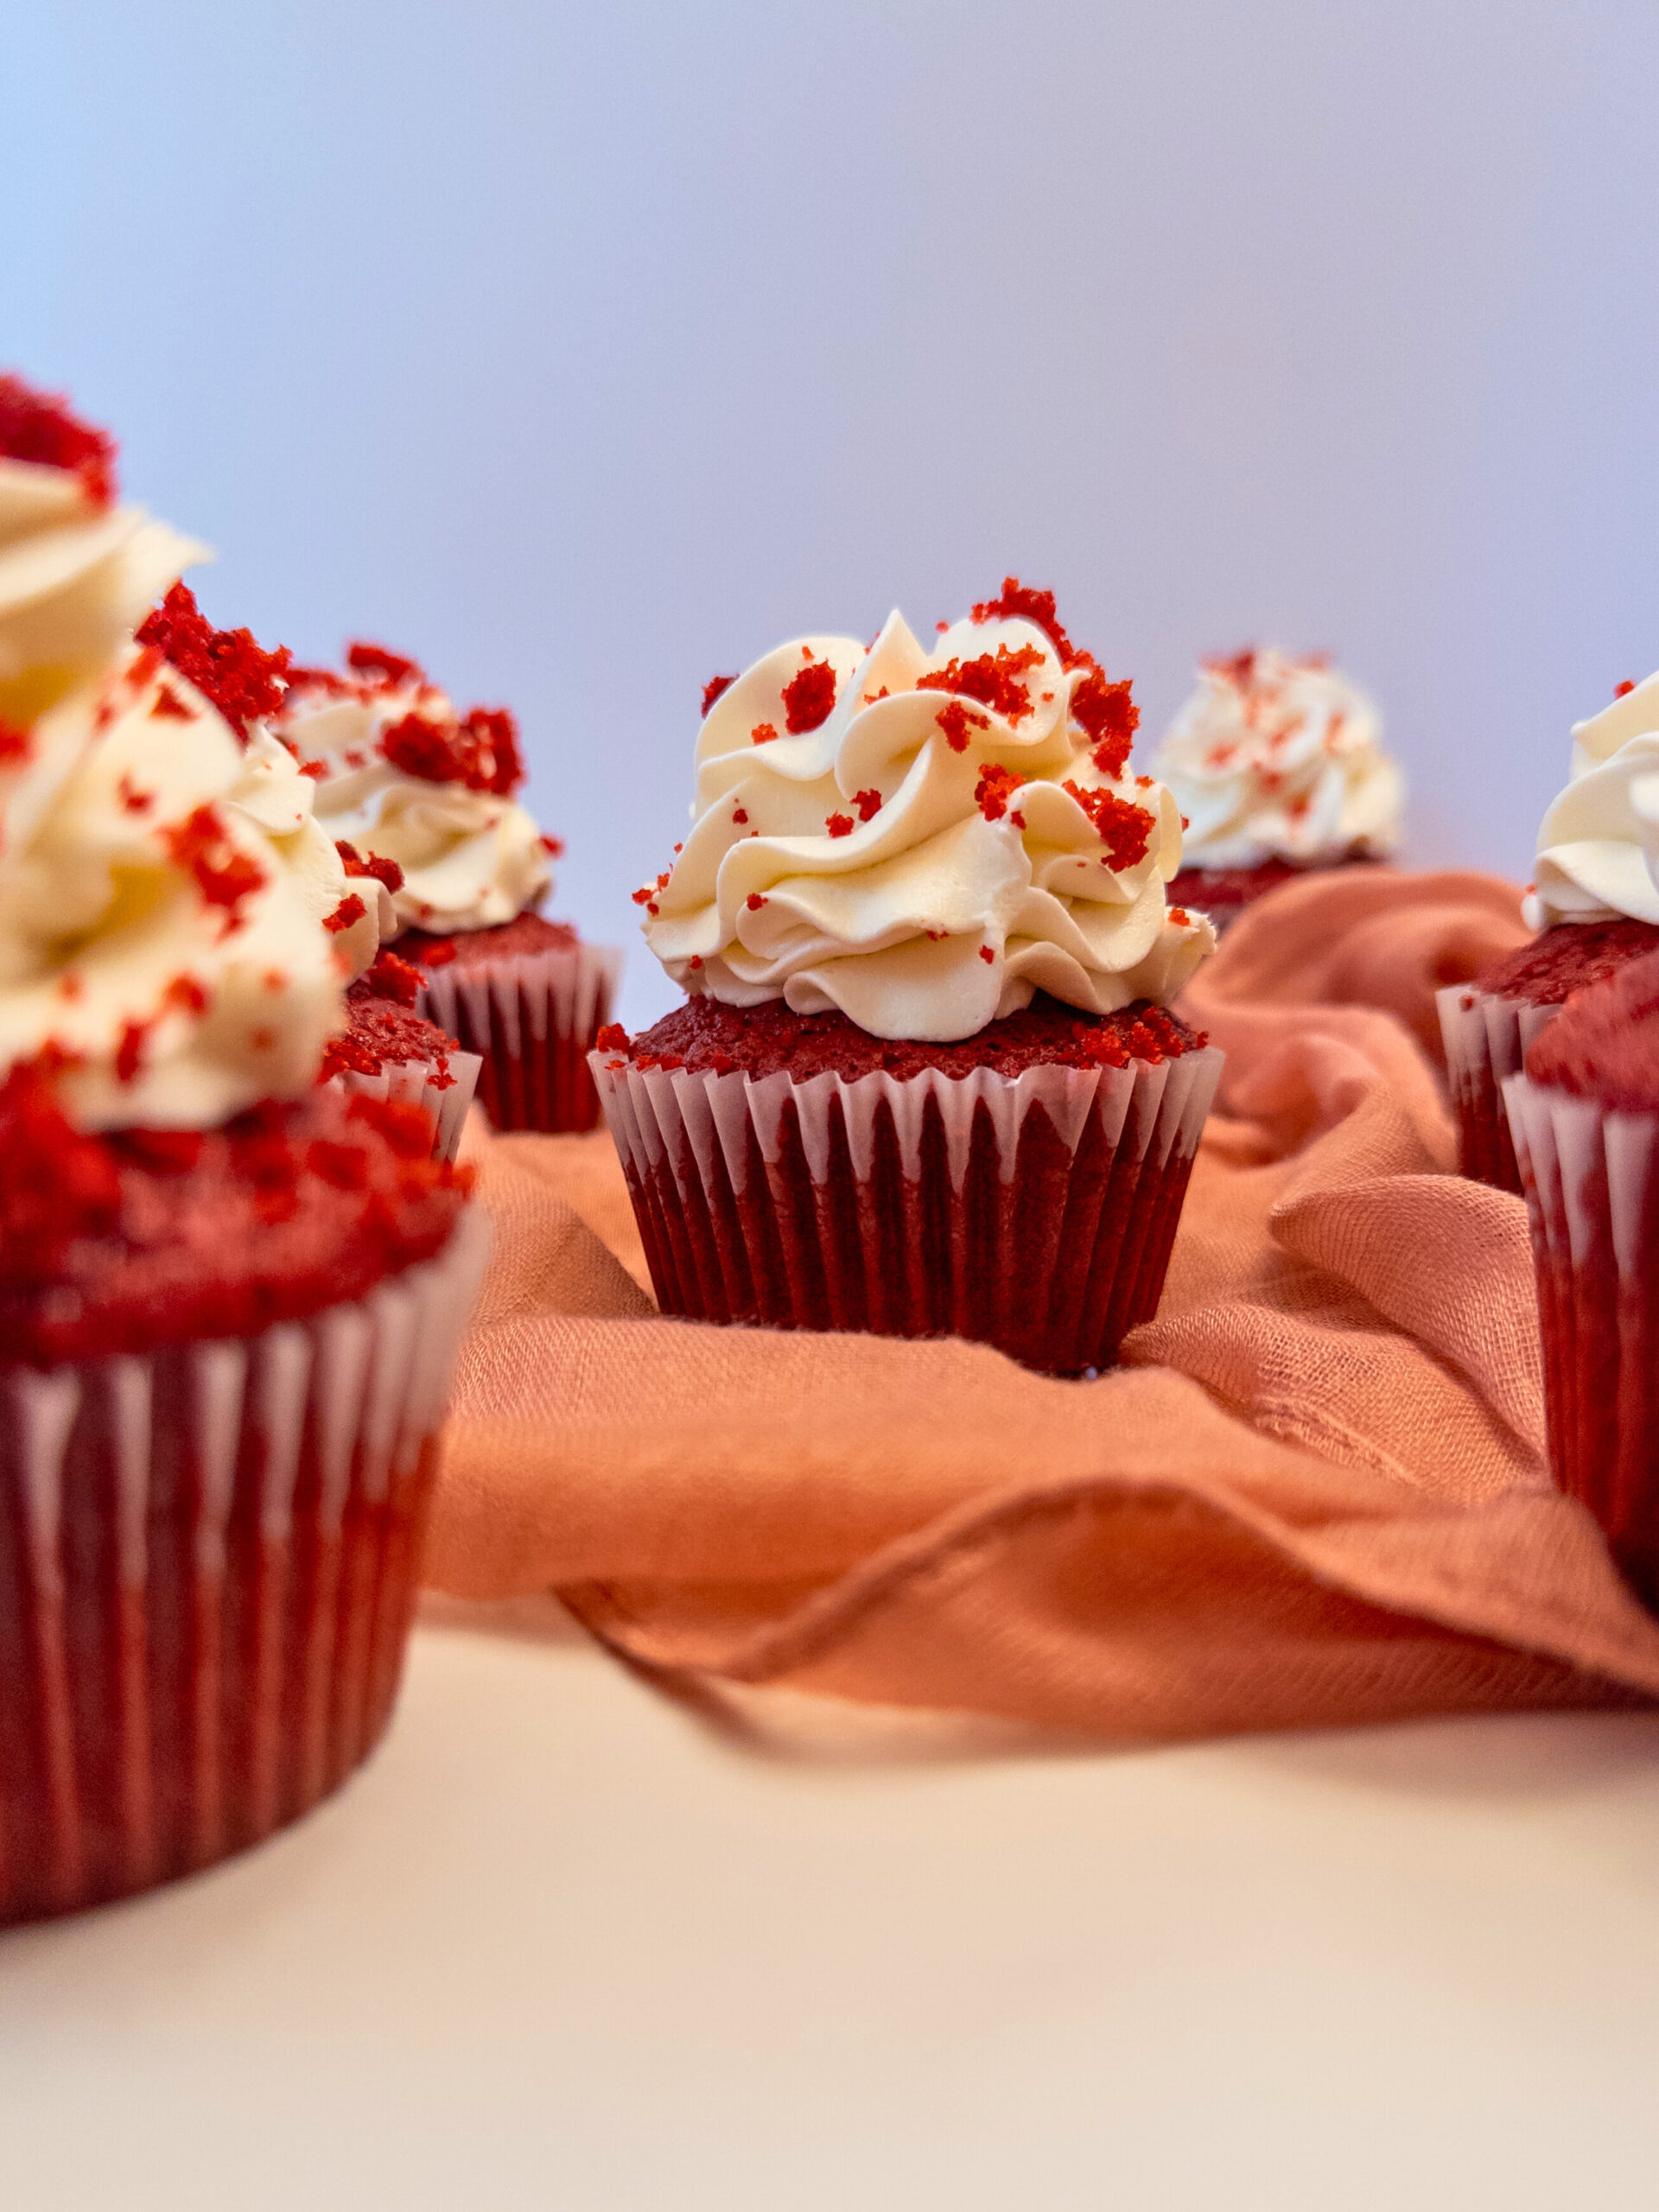
Red velvet cupcakes are the ultimate combination of beauty and flavor. With their striking deep red color, a hint of cocoa, and rich, velvety texture, it’s no wonder they’re a favorite at parties, weddings, or just because! And, of course, we can’t forget about the smooth and tangy cream cheese icing that perfectly complements these cupcakes. Whether you’re baking them for a special occasion or just craving something sweet, this red velvet cupcake recipe will deliver every time.
Why Red Velvet Cupcakes?
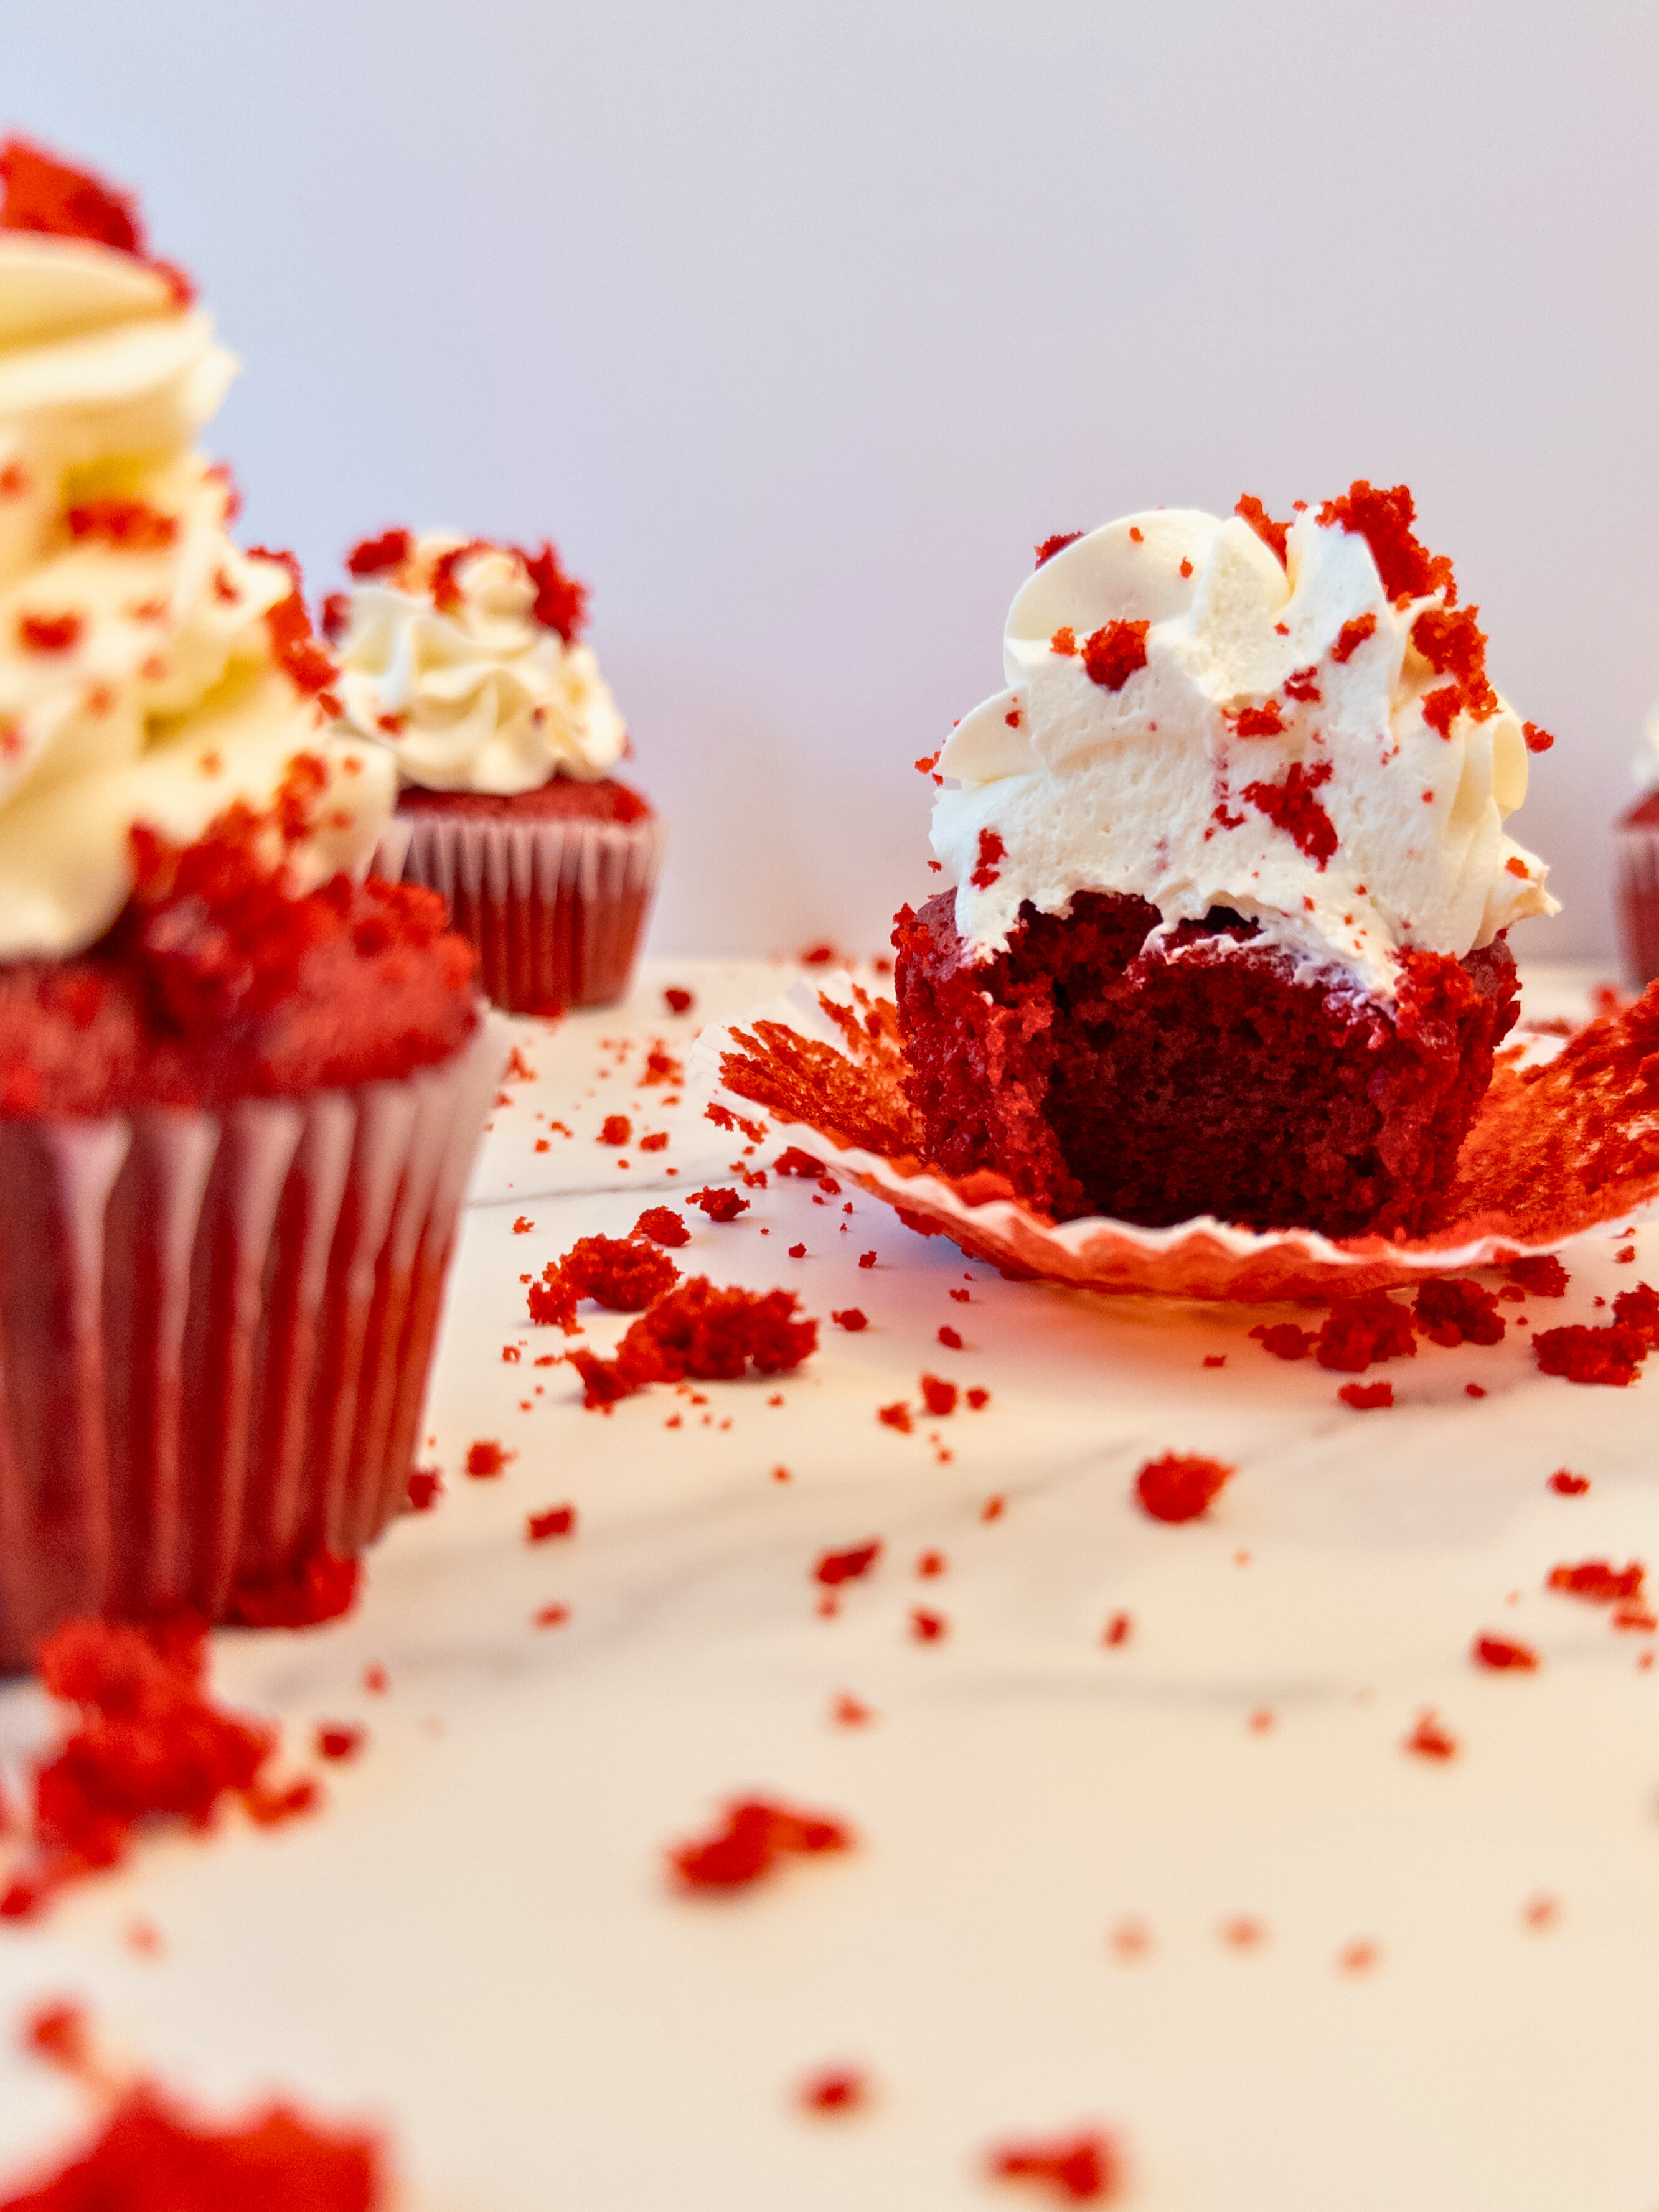
There’s something about red velvet that feels luxurious. It’s not quite a chocolate cake, but it’s richer than your average vanilla cupcake. Add the tangy sweetness of buttermilk and a hint of cocoa, and you have a cupcake that’s a flavor experience all on its own. Plus, the cream cheese icing? It’s like the cherry on top—except better!
In this post, we’ll walk you through every step to make these red velvet beauties, plus a few tips and tricks to ensure they come out perfectly moist and delicious every time.
What You’ll Need
Let’s break down the ingredients for both the cupcakes and that irresistible cream cheese icing.
Cupcakes:
- Oil (1 ¼ cups): Keeps the cupcakes moist and gives them a tender crumb.
- Buttermilk (1 cup): Adds a tangy flavor and helps the batter stay light.
- Eggs (2): They bind everything together and provide structure.
- Vinegar (1 tsp): Helps activate the baking soda for a fluffy texture.
- Vanilla (2 tsp): Adds depth of flavor.
- Red Food Color (3 tbsp): Gives the cupcakes their signature color. You can adjust the amount depending on how red you want your cupcakes to be.
- Flour (2 ½ cups): Provides the base and structure for the cupcakes.
- Sugar (1 ¾ cups): Sweetens the cupcakes and helps create a soft texture.
- Baking Soda (1 tsp): Leavening agent that makes the cupcakes rise.
- Salt (¾ tsp): Enhances the flavors and balances the sweetness.
- Cocoa (1 tbsp): Just a touch of cocoa adds that classic red velvet flavor.
Cream Cheese Icing:
- 10x Powdered Sugar (4 cups): Sweetens the icing and gives it a smooth texture.
- Vanilla (2 tsp): Adds flavor to balance out the tang of the cream cheese.
- Butter (½ cup): Makes the icing rich and creamy.
- Cream Cheese (8 oz): The star of the show—tangy, smooth, and perfectly delicious!
How to Make Red Velvet Cupcakes
These red velvet cupcakes are surprisingly simple to make, and the results? Absolutely showstopping.
Ingredients:
Cupcakes:
- 1 ¼ cups oil
- 1 cup buttermilk
- 2 eggs
- 1 tsp vinegar
- 2 tsp vanilla extract
- 3 tbsp red food color
- 2 ½ cups flour
- 1 ¾ cups sugar
- 1 tsp baking soda
- ¾ tsp salt
- 1 tbsp cocoa powder
Cream Cheese Icing:
- 4 cups powdered sugar (10x)
- 2 tsp vanilla extract
- ½ cup butter, softened
- 8 oz cream cheese, softened
Instructions:
Step 1: Preheat the Oven
Preheat your oven to 350°F (175°C) and line a cupcake tin with paper liners. This recipe makes about 24 cupcakes, so be prepared to bake in batches if needed.
Step 2: Mix Wet Ingredients
In a large bowl, whisk together the oil, buttermilk, eggs, vinegar, vanilla extract, and red food coloring. Make sure everything is well combined. The red food color should be evenly distributed throughout the mixture, giving it that signature red velvet hue.
Step 3: Combine Dry Ingredients
In a separate bowl, sift together the flour, sugar, baking soda, salt, and cocoa powder. This helps to avoid any lumps in the batter and ensures even baking.
Step 4: Mix Wet and Dry Ingredients
Gradually add the dry ingredients into the wet ingredients, stirring until just combined. Be careful not to overmix the batter—overmixing can lead to dense cupcakes, and we want these to be light and fluffy!
Step 5: Fill the Cupcake Liners
Spoon the batter into the lined cupcake tin, filling each liner about ⅔ full. This will give the cupcakes room to rise without overflowing.
Step 6: Bake
Bake the cupcakes for 18-20 minutes, or until a toothpick inserted into the center comes out clean. Once baked, remove the cupcakes from the oven and let them cool in the pan for about 5 minutes before transferring them to a wire rack to cool completely.
Making the Cream Cheese Icing
While your cupcakes are baking and cooling, let’s whip up the cream cheese icing. It’s creamy, tangy, and perfectly sweet—just what these red velvet cupcakes need!
Step 1: Beat the Butter and Cream Cheese
In a large bowl, beat together the butter and cream cheese until smooth and creamy. Make sure both ingredients are softened to room temperature so they blend together easily.
Step 2: Add the Vanilla and Powdered Sugar
Gradually add the powdered sugar, about 1 cup at a time, and continue beating until the icing is smooth and fluffy. Add the vanilla extract and mix until everything is combined.
Step 3: Frost the Cupcakes
Once the cupcakes have cooled completely, it’s time to frost them! You can use a piping bag for a fancy swirl or simply spread the icing on with a knife for a more rustic look. Either way, they’re going to taste amazing.
Pro Tips for the Perfect Red Velvet Cupcakes
- Don’t Overmix the Batter: Stirring too much can make the cupcakes dense instead of light and airy.
- Use High-Quality Cocoa: Since red velvet is all about that subtle cocoa flavor, using a good-quality cocoa powder will really make a difference.
- Room Temperature Ingredients: Make sure your cream cheese and butter are at room temperature before making the icing. This ensures a smooth, creamy frosting without lumps.
- Cool Cupcakes Completely: Don’t rush the frosting process. Let your cupcakes cool completely before you start icing, or the frosting will melt right off.
Variations to Try
Looking to put a twist on the classic red velvet cupcake? Here are a few variations you might enjoy:
1. Mini Red Velvet Cupcakes
Perfect for parties or when you just want a bite-sized treat. Use a mini cupcake tin and reduce the baking time to about 10-12 minutes.
2. Chocolate Chips
Want to amp up the chocolate flavor? Stir in some mini chocolate chips to the batter before baking. They’ll add a fun texture and extra sweetness.
3. Red Velvet Cake
Feeling like a cake instead of cupcakes? This recipe works just as well for a layer cake. Divide the batter between two 8-inch round cake pans and bake for 25-30 minutes.
Frequently Asked Questions
Can I Make These Cupcakes Ahead of Time?
Yes! You can bake the cupcakes a day in advance and store them in an airtight container. Frost them the day you plan to serve for the best texture and taste. The icing can also be made ahead and stored in the fridge.
Can I Freeze Red Velvet Cupcakes?
Absolutely. Once baked, let the cupcakes cool completely, then wrap them individually in plastic wrap and place them in a freezer-safe bag. To thaw, just let them sit at room temperature for a few hours or overnight in the fridge. You can also freeze the cream cheese icing separately.
How Long Will These Cupcakes Last?
Stored in an airtight container at room temperature, the cupcakes will stay fresh for up to 3 days. If you’ve already frosted them, it’s best to store them in the fridge, where they’ll last up to 5 days.
Can I Make a Dairy-Free Version?
You can swap the buttermilk for a dairy-free milk alternative (like almond or oat milk) mixed with a teaspoon of vinegar. For the icing, use a dairy-free cream cheese and butter substitute.
Conclusion: Red Velvet Cupcakes—A Classic for a Reason
There’s a reason red velvet cupcakes are such a crowd-pleaser. They’re visually stunning, have a unique flavor profile, and when topped with that dreamy cream cheese icing, they’re absolutely irresistible. Whether you’re baking for a party, a holiday, or just because, this red velvet cupcake recipe is sure to impress.
So, what are you waiting for? Get your ingredients ready, and let’s get baking. You’ll have a batch of delicious red velvet cupcakes in no time, and trust me, they won’t last long once they’re out of the oven!
Red Velvet Cupcakes with Cream Cheese Icing
Ingredients
For the Cupcakes
- 1 1/4 cup oil
- 1 cup buttermilk
- 2 large eggs
- 1 tsp vinegar
- 2 tsp vanilla extract
- 3 Tbsp red food coloring
- 2 1/2 cups flour
- 1 3/4 cup sugar
- 1 tsp baking soda
- 3/4 tsp salt
- 1 Tbsp cocoa powder
For the Cream Cheese Icing
- 4 cups powdered sugar
- 2 tsp vanilla extract
- 1/2 cup butter softened
- 8 oz cream cheese softened
Instructions
- Preheat oven to 350°F (175°C) and line a cupcake tin with paper liners.
- Whisk together oil, buttermilk, eggs, vinegar, vanilla, and red food coloring in a large bowl.
- In a separate bowl, sift together flour, sugar, baking soda, salt, and cocoa powder.
- Gradually mix dry ingredients into the wet ingredients until just combined.
- Spoon batter into liners, filling ⅔ full.
- Bake for 18-20 minutes. Cool completely before frosting.
- For the icing: Beat together cream cheese and butter. Add powdered sugar and vanilla. Frost the cooled cupcakes.