How to Make Perfect Vanilla Bean Ice Cream from Scratch
There’s something truly magical about homemade vanilla bean ice cream. It’s a classic treat that brings comfort and nostalgia with every creamy spoonful. Whether you’re looking to impress your family with a homemade dessert or just want to enjoy a treat that’s far superior to store-bought options, this vanilla bean ice cream recipe is the one to try.
In this post, I’ll walk you through the process of making vanilla bean ice cream from scratch, ensuring you get that perfect texture and rich flavor that only comes from using real ingredients. I’ll also dive into tips and tricks for mastering the art of ice cream making, so even if you’re new to this, you’ll be churning out delicious ice cream in no time.
Why Make Vanilla Bean Ice Cream at Home?
Let’s be honest—store-bought ice cream is convenient, but it rarely hits the mark when it comes to flavor and texture. Most commercial ice creams are filled with preservatives, artificial flavors, and stabilizers that don’t deliver that rich, homemade taste. By making vanilla bean ice cream at home, you control the ingredients, ensuring a pure, creamy, and flavorful result every time.
Plus, homemade ice cream is versatile. Want to add a swirl of caramel or a handful of chocolate chips? Go ahead! The base recipe I’m sharing today is your canvas for creating whatever your taste buds desire.
The Magic Ingredient: Vanilla Beans
Vanilla beans are the star of this recipe. They’re what elevate simple ice cream into a gourmet experience. If you’ve never worked with vanilla beans before, don’t worry. I’ll guide you through the process of splitting and scraping the beans to get the most flavor out of them.
Vanilla beans can be a bit pricey, but they’re worth the investment. However, if you can’t find vanilla beans or they’re out of your budget, high-quality vanilla extract works as a substitute. Just remember, the flavor won’t be as intense or nuanced as it is with the beans.
Choosing Your Dairy: Whole Milk and Heavy Cream
The combination of whole milk and heavy cream in this recipe creates the perfect balance of creaminess without being overly rich. Whole milk provides enough fat to contribute to the ice cream’s smooth texture, while heavy cream brings that luxurious mouthfeel we all crave in ice cream.
The Role of Egg Yolks
Egg yolks are another key component in this recipe. They act as a natural emulsifier, which means they help to thicken the ice cream mixture and create that velvety texture. When heated, the proteins in the egg yolks coagulate, thickening the base into a custard that will churn into a smooth, creamy ice cream.
How to Make Vanilla Bean Ice Cream: Step-by-Step
Now that we’ve covered the basics, let’s dive into the recipe. Don’t be intimidated by the steps—making ice cream is a process, but it’s one that’s completely worth the effort.
Ingredients:
- 2 1/3 Cups Whole Milk
- 2 1/2 Cups Heavy Cream
- 1 1/4 Cups Sugar (divided)
- Pinch of Salt
- 2 Vanilla Beans or 2 tsp Vanilla Extract
- 7 Egg Yolks
Instructions:
- Prepare the Vanilla Beans:
- If using vanilla beans, start by splitting each bean lengthwise with a sharp knife. Use the back of the knife to scrape out the seeds. These tiny, fragrant seeds are what give the ice cream its intense vanilla flavor. Don’t discard the pods—they’ll be steeped in the milk mixture to extract every bit of flavor.
- Heat the Milk and Cream:
- In a medium-sized saucepan, combine the whole milk, heavy cream, 1 cup of sugar, a pinch of salt, and the scraped vanilla beans (along with the pods). If you’re using vanilla extract instead of beans, you’ll add it later. Place the saucepan over medium heat and cook, stirring occasionally, until the mixture is hot but not boiling. You want it to be just below a simmer, around 170°F.
- Whisk the Egg Yolks:
- While the milk mixture is heating, whisk the egg yolks and the remaining 1/4 cup of sugar in a separate bowl. Whisk vigorously until the mixture becomes pale and thick. This should take about 2-3 minutes by hand or less if you’re using a stand mixer.
- Temper the Egg Yolks:
- This step is crucial to avoid curdling the eggs. Slowly pour about 1/2 cup of the hot milk mixture into the egg yolks while whisking constantly. This process gradually raises the temperature of the egg yolks so they don’t cook too quickly. Continue whisking and slowly add another 1/2 cup of the hot mixture.
- Combine and Thicken:
- Pour the tempered egg yolk mixture back into the saucepan with the remaining milk and cream. Cook over medium heat, stirring constantly with a wooden spoon or a heatproof spatula. The custard will gradually thicken—this usually takes about 5-7 minutes. You’ll know it’s ready when the custard coats the back of the spoon, and a line drawn with your finger through the custard holds its shape.
- Strain and Cool:
- Remove the custard from the heat. If you used vanilla beans, now is the time to strain the mixture through a fine-mesh sieve to remove the pods and any bits of egg that might have cooked. If you’re using vanilla extract, stir it in now. Let the custard cool to room temperature before covering and refrigerating it for at least 4 hours, preferably overnight. The longer it chills, the better the flavor and texture will be.
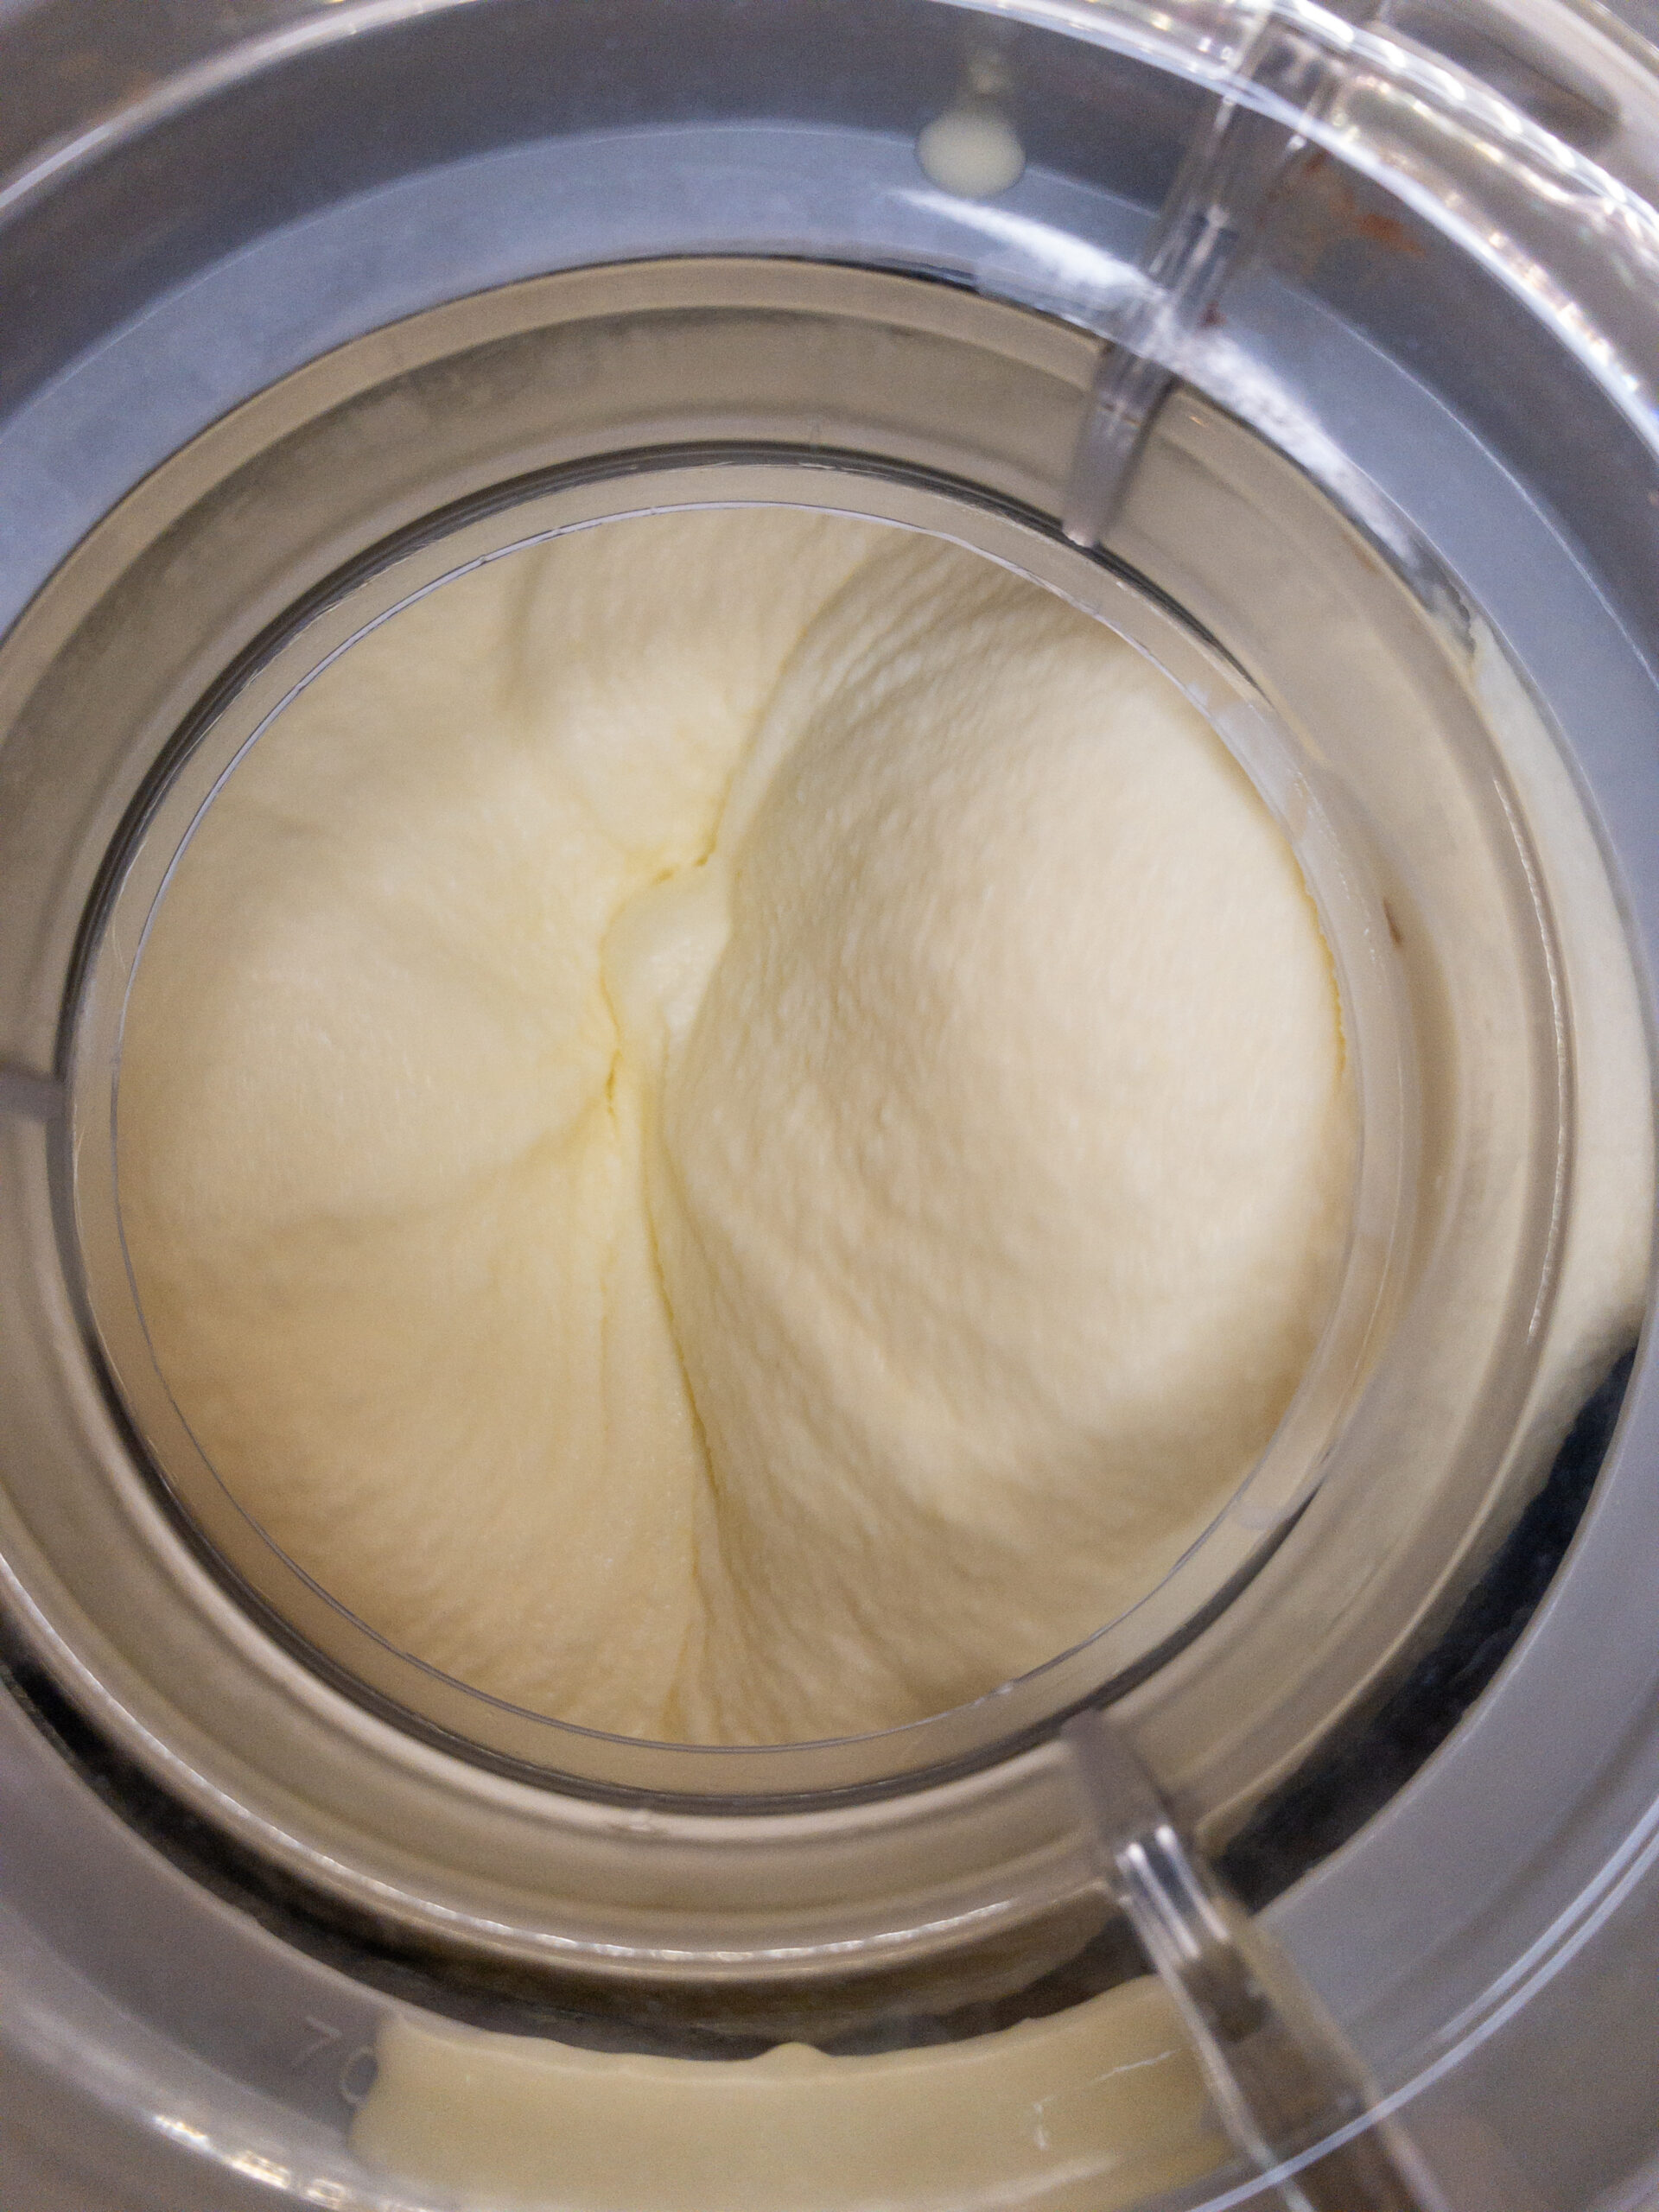
- Churn the Ice Cream:
- Once the custard is thoroughly chilled, it’s time to churn. Pour the custard into your ice cream maker and churn according to the manufacturer’s instructions. This usually takes about 20-25 minutes, depending on your machine. The ice cream will be soft at this point, similar to soft-serve.
- Freeze Until Firm:
- Transfer the churned ice cream into an airtight container. Press a piece of plastic wrap directly onto the surface of the ice cream to prevent ice crystals from forming. Freeze for at least 4 hours, or until firm enough to scoop.
- Serve and Enjoy:
- When the ice cream is ready, scoop it into bowls or cones and enjoy! You can also use it as a base for other desserts like sundaes, ice cream sandwiches, or even milkshakes.
Tips for Perfect Homemade Vanilla Bean Ice Cream
Vanilla bean ice cream pairs beautifully with warm desserts like apple pie, brownies, or a slice of pound cake. It’s also delightful with fresh berries or a drizzle of homemade chocolate sauce.
Use Fresh Ingredients:
Fresh dairy, eggs, and vanilla beans are essential for the best flavor. Avoid using ingredients that are close to their expiration date for optimal taste.
Don’t Skip the Chilling Process:
Chilling the custard thoroughly before churning is key to achieving the right texture. If the mixture is too warm, it won’t freeze properly and could turn out grainy.
Experiment with Flavors:
While vanilla bean ice cream is a classic, feel free to get creative. Add mix-ins like crushed cookies, caramel swirls, or chocolate chips during the last few minutes of churning. You can also infuse the milk with other flavors like coffee, mint, or fruit for a fun twist.
Proper Storage:
Homemade ice cream doesn’t contain the stabilizers found in store-bought versions, so it tends to freeze harder. Let it sit at room temperature for a few minutes before scooping for easier serving.

Vanilla Bean Ice Cream
Ingredients
- 2 1/3 Cups Whole Milk
- 2 1/2 Cups Heavy Cream
- 1 1/4 Cups Sugar (divided)
- Pinch Salt
- 2 Vanilla Beans or 2 tsp Vanilla Extract
- 7 Egg Yolks
Instructions
- Split and scrape the vanilla beans if using. Combine milk, cream, 1 cup sugar, salt, and vanilla beans (or extract) in a saucepan. Heat until hot but not boiling.
- Whisk egg yolks and remaining 1/4 cup sugar until pale and thick.
- Temper the eggs by slowly adding hot milk mixture while whisking constantly.
- Pour the mixture back into the saucepan and cook until it thickens and coats the back of a spoon.
- Remove from heat, strain, and cool to room temperature. Refrigerate for at least 4 hours or overnight.
- Pour the chilled custard into the ice cream maker and churn according to the manufacturer’s instructions. This typically takes about 20-25 minutes, or until the ice cream reaches a soft-serve consistency.
- Once churned, transfer the ice cream to an airtight container. Smooth the top with a spatula.
- Place the container in the freezer and let the ice cream harden for at least 4 hours, or until firm.
- Scoop the Vanilla Bean Ice Cream into bowls or cones and enjoy the delightful flavor of this homemade treat.