How to Make the Perfect Chewy Granola Bars at Home

Granola bars are the perfect snack. They’re portable, customizable, and can be as healthy as you want them to be. Whether you’re looking for a quick breakfast on the go, a midday energy boost, or a post-workout pick-me-up, homemade granola bars have got you covered. Forget those overpriced, store-bought options packed with preservatives—making your own at home is simple, fun, and oh-so-rewarding. Let’s dive into the world of homemade granola bars, where we’ll explore everything from ingredients to preparation, and of course, enjoy a delicious recipe!
Why Make Your Own Granola Bars?
Control Over Ingredients
One of the biggest perks of making your granola bars at home is that you control what goes in them. You can choose organic ingredients, reduce added sugars, and include your favorite mix-ins. This customization ensures you know exactly what you’re eating, which is especially great if you have dietary restrictions or preferences.
Cost-Effective
Buying pre-packaged granola bars can really add up, especially if you consume them regularly. By making your own, you can save a significant amount of money while enjoying tastier, fresher snacks.
Endless Flavor Combinations
The beauty of granola bars lies in their versatility. You can experiment with various nuts, seeds, fruits, and spices to create combinations that suit your taste buds. Feeling adventurous? Add chocolate chips or a drizzle of honey for a sweet treat!
Healthy Snack Option
When you prepare granola bars yourself, you can pack them with nutritious ingredients like oats, nuts, and seeds, making them a wholesome snack. You can easily incorporate healthy fats, fiber, and protein to keep you satisfied longer.
The Key Ingredients for Granola Bars
Before we get into the nitty-gritty of the recipe, let’s talk about the key ingredients that make up a great granola bar. Here’s what you’ll need:
Base Ingredients
- Oats: Rolled oats are a must for that chewy texture and wholesome flavor. They’re also a great source of fiber.
- Nut Butter: Almond butter, peanut butter, or cashew butter act as a binder and provide healthy fats and protein.
- Sweeteners: Honey, maple syrup, or agave nectar are perfect for adding sweetness and helping everything stick together.
- Nuts and Seeds: Your choice! Almonds, walnuts, sunflower seeds, and chia seeds add crunch and nutrition.
Optional Add-Ins
- Dried Fruits: Raisins, cranberries, or apricots lend sweetness and texture.
- Chocolate Chips: For a treat, add dark or milk chocolate chips.
- Spices: Cinnamon or vanilla extract can enhance the flavor profile.
- Protein Powder: For an extra protein boost, consider mixing in some protein powder.
The Homemade Granola Bar Recipe
Now that we’ve covered the essentials, let’s get into the fun part—the recipe! This homemade granola bar recipe is super easy to follow and results in delicious, chewy bars. Let’s get started!
Ingredients
Here’s what you’ll need to make a batch of 12 homemade granola bars:
- 2 cups rolled oats
- 1 cup nut butter (peanut, almond, or cashew)
- ½ cup honey or maple syrup
- 1 cup mixed nuts (chopped)
- ½ cup seeds (like sunflower or pumpkin seeds)
- ½ cup dried fruit (like cranberries or raisins)
- 1 teaspoon vanilla extract
- 1 teaspoon cinnamon (optional)
- Pinch of salt
Instructions
Step 1: Preheat the Oven
Start by preheating your oven to 350°F (175°C). Line a 9×13-inch baking dish with parchment paper, leaving some overhang on the sides to help you lift out the bars later.
Step 2: Mix the Dry Ingredients
In a large bowl, combine 2 cups of rolled oats, 1 cup of chopped mixed nuts, ½ cup of seeds, and ½ cup of dried fruit. If you’re using cinnamon, add 1 teaspoon to the dry mixture. Give it a good stir to combine all the ingredients.
Step 3: Combine the Wet Ingredients
In a separate bowl, mix together 1 cup of nut butter and ½ cup of honey (or maple syrup). If your nut butter is too thick, you can warm it slightly in the microwave to make it easier to combine. Add 1 teaspoon of vanilla extract and a pinch of salt. Stir until smooth.
Step 4: Combine Wet and Dry Mixtures
Pour the wet mixture over the dry ingredients and stir well to combine. Make sure everything is evenly coated. If you find the mixture too dry, you can add a little more honey or nut butter until it holds together nicely.
Step 5: Press Into the Baking Dish
Transfer the mixture into the prepared baking dish and press it down firmly. Use a spatula or your hands (lightly greased) to compact it evenly. This step is crucial for ensuring your bars hold together once baked.
Step 6: Bake
Place the baking dish in the preheated oven and bake for 20-25 minutes, or until the edges turn golden brown. Keep an eye on them to avoid burning!
Step 7: Cool and Cut
Once baked, remove the dish from the oven and let it cool in the pan for about 10-15 minutes. Then, use the parchment paper overhang to lift the granola out of the dish and onto a cutting board. Allow it to cool completely before cutting into 12 bars.
Step 8: Store
Store your homemade granola bars in an airtight container at room temperature for up to one week. For longer storage, you can refrigerate or freeze them.
Tips for Success
- Don’t Skip the Parchment Paper: This makes it so much easier to remove the bars from the dish.
- Press Firmly: The more you press the mixture down, the more likely your bars will hold together.
- Customize to Your Liking: Feel free to adjust the mix-ins based on your preferences. The options are endless!
- Experiment with Flavors: Add spices like nutmeg or cardamom for a twist. You can also use flavored nut butter for added variety.
Serving Suggestions
Homemade granola bars are super versatile. Here are some tasty serving suggestions to enjoy them even more:
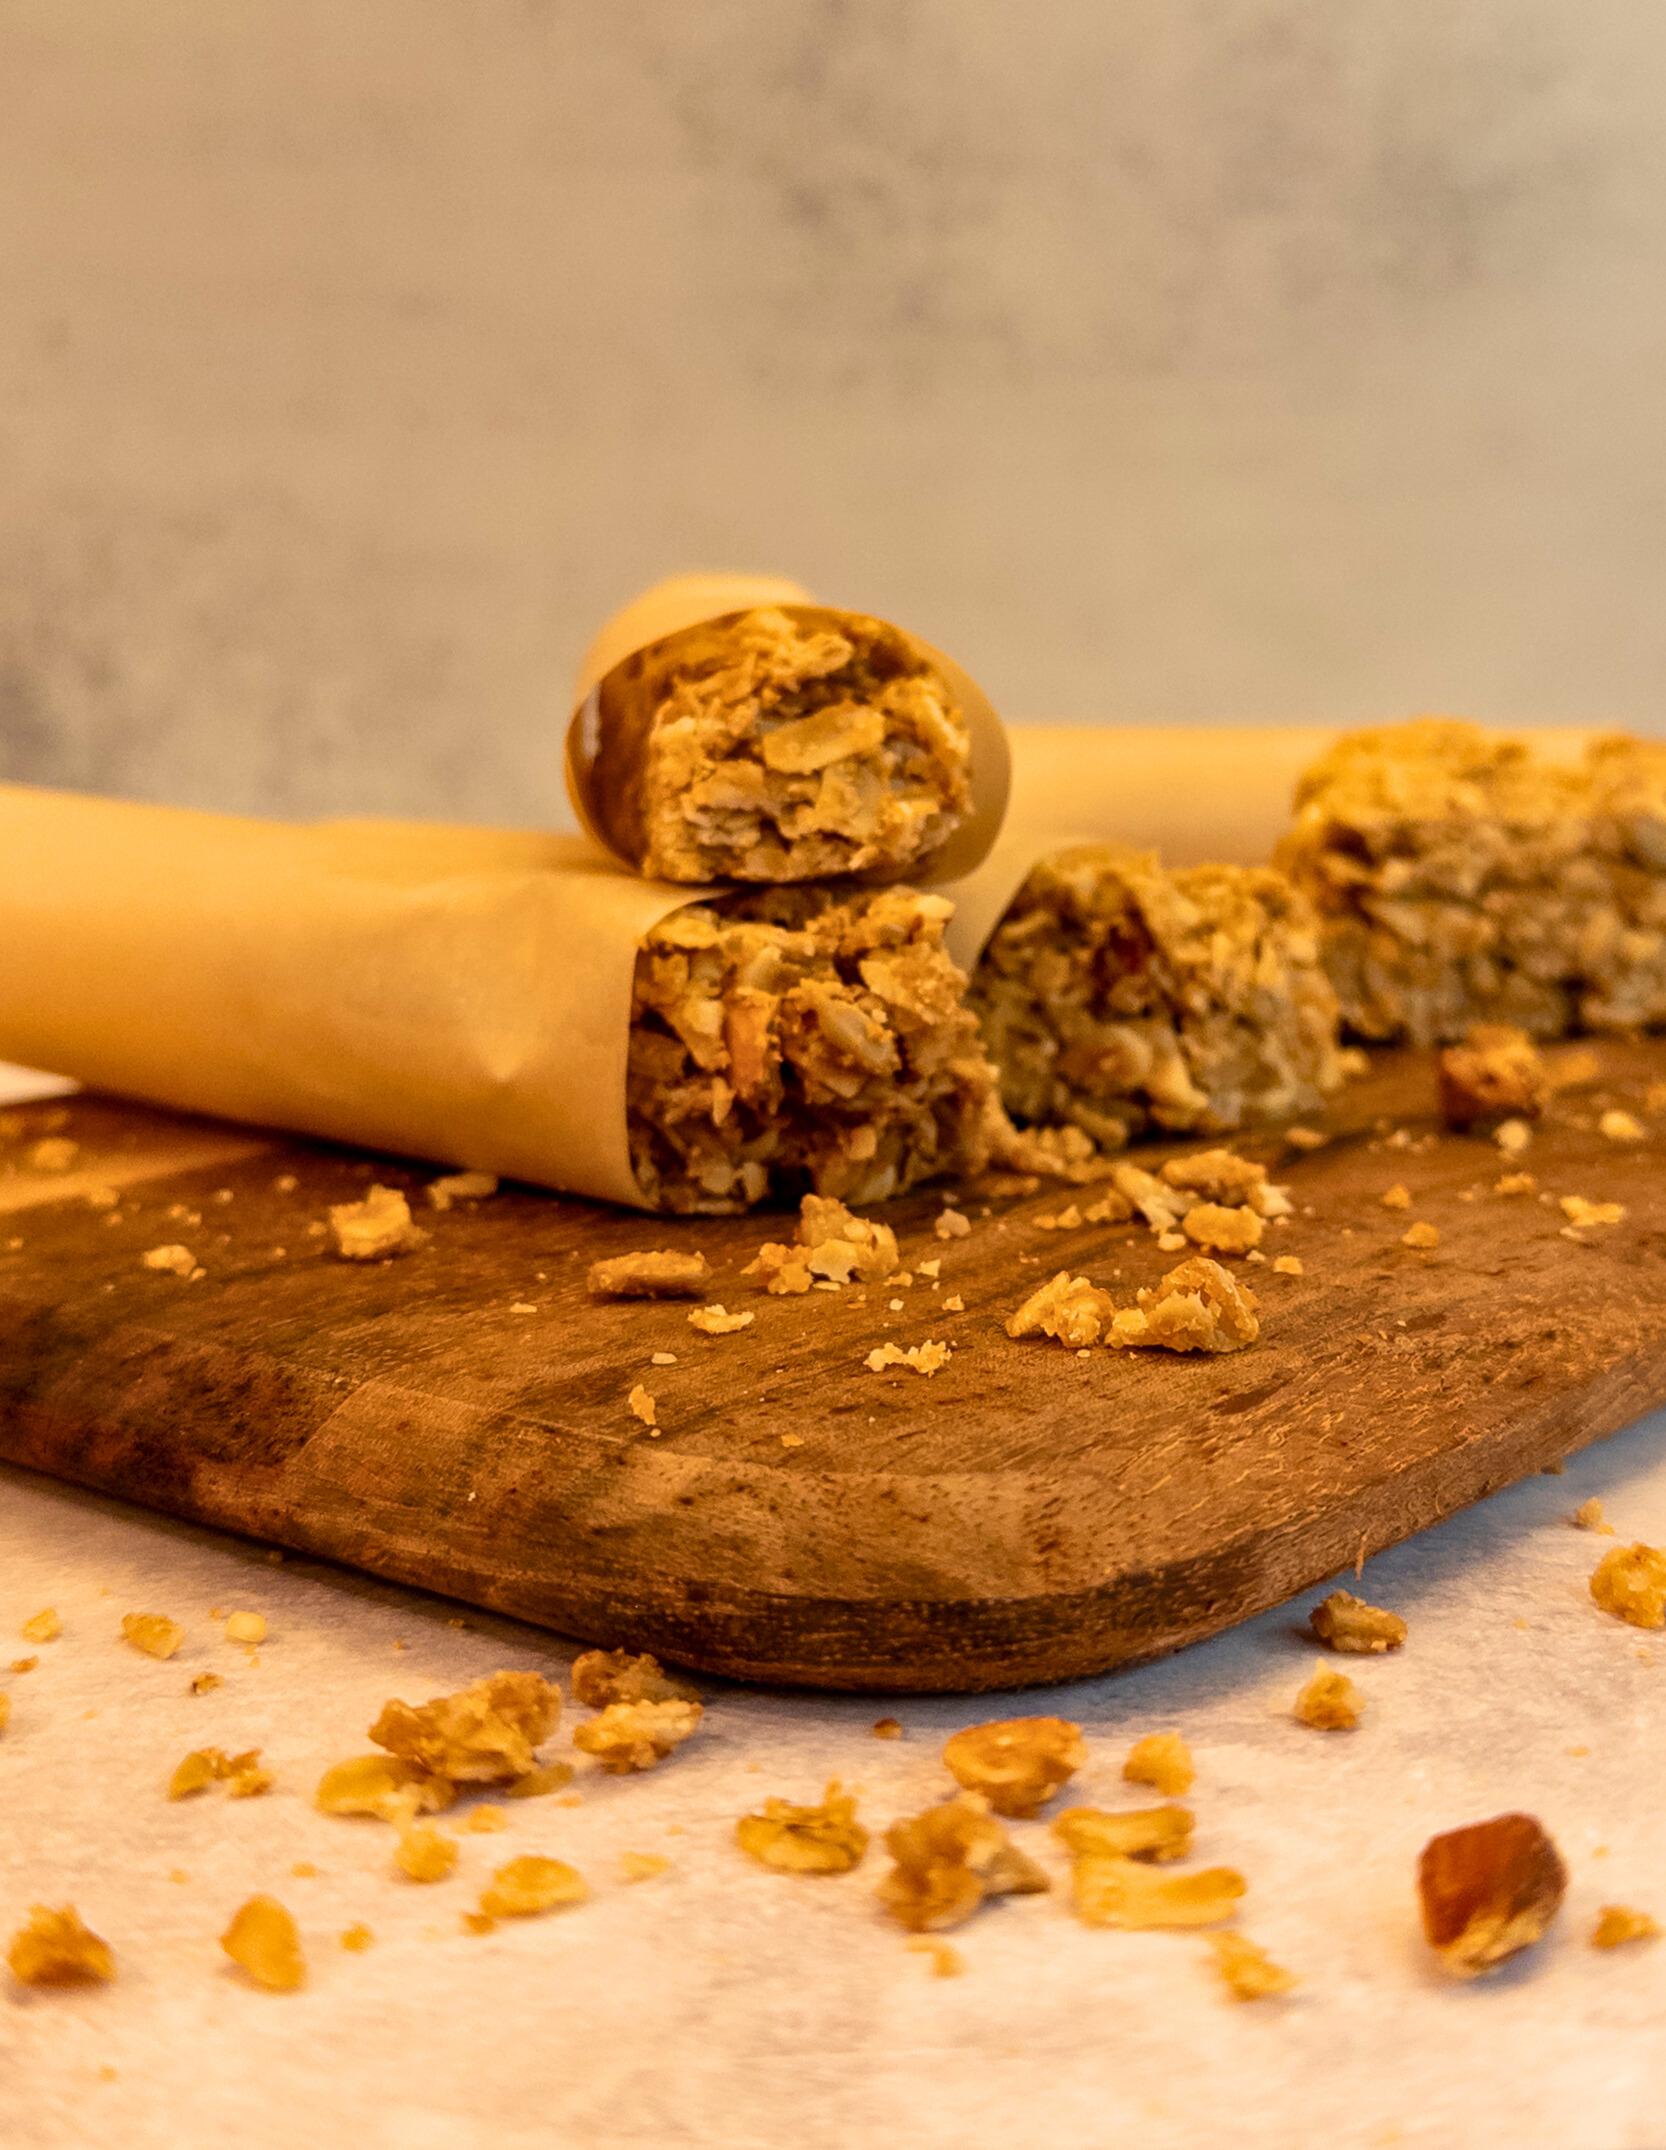
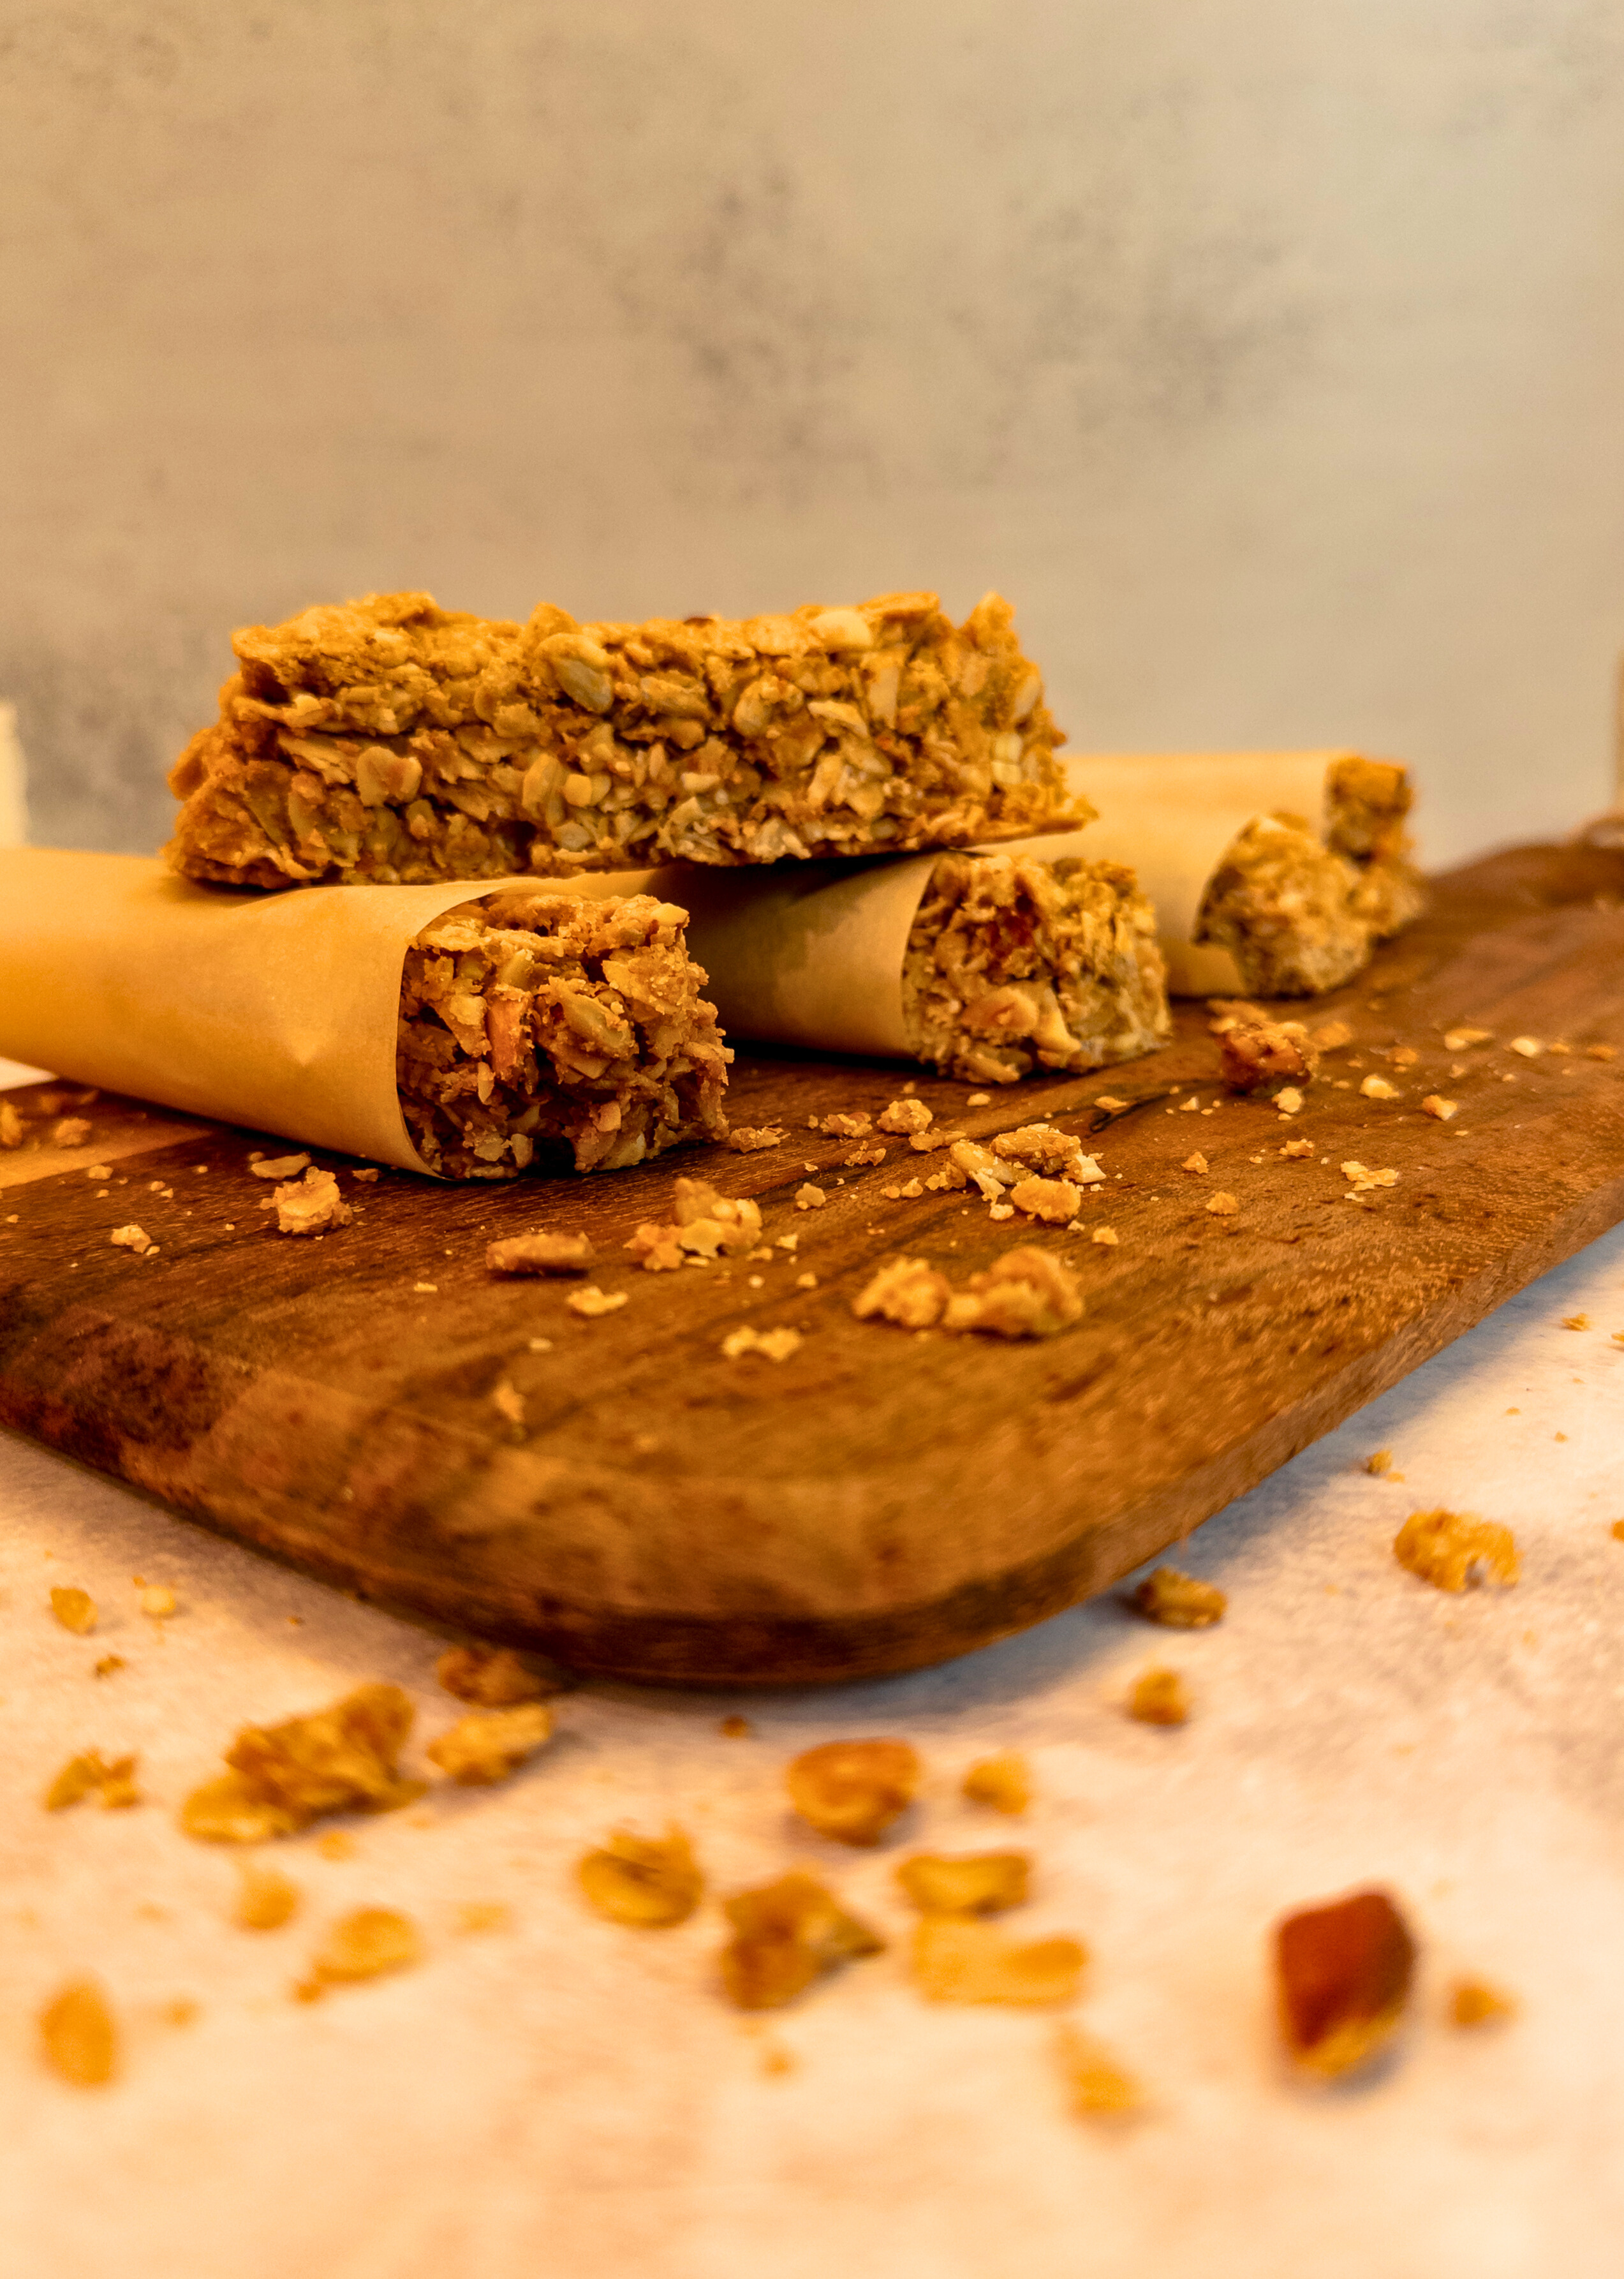
- On the Go: Wrap individual bars in foil or parchment for an easy grab-and-go snack.
- With Yogurt: Crumble bars over a bowl of yogurt for added crunch and flavor.
- As Breakfast: Pair with a banana and coffee for a quick breakfast option.
- Energy Boost: Take a bar along for hikes, workouts, or long car rides for sustained energy.
Frequently Asked Questions
1. Can I Use Gluten-Free Oats?
Absolutely! Just make sure you purchase oats labeled as gluten-free if you need to avoid gluten.
2. How Long Do They Last?
Homemade granola bars can be stored at room temperature for about a week. If you want them to last longer, store them in the refrigerator or freezer.
3. Can I Substitute the Nut Butter?
Yes! If you have allergies or preferences, you can substitute the nut butter with sun butter or a seed butter of your choice.
4. Can I Add Protein Powder?
Definitely! If you want a protein boost, you can mix in a scoop of your favorite protein powder with the dry ingredients.
5. Are These Bars Kid-Friendly?
Absolutely! Kids love them, and you can customize them to suit their taste preferences. Plus, it’s a great way to sneak in some healthy ingredients!
Conclusion
Making your own granola bars is not only a fun and rewarding process, but it also allows you to create delicious, nutritious snacks that you can feel good about. With endless customization options and a straightforward recipe, you’ll be whipping up batches of these bars in no time. Whether you enjoy them as a breakfast treat, an afternoon snack, or a post-workout fuel, these homemade granola bars are sure to satisfy your cravings. So grab your ingredients, get in the kitchen, and enjoy the deliciousness!

Homemade Granola Bars
Ingredients
- 2 Cup Rolled Oats
- 1 Cup Nut Butter Peanut, Cashew, or Almond
- 1/2 Cup Honey or Maple Syrup
- 1 Cup Mixed Nuts Chopped
- 1/2 Cup Seeds Sunflower or Pumpkin
- 1 tsp Vanilla Extract
- 1 tsp Cinnamon Optional
- Pinch Salt
Instructions
- Preheat your oven to 350°F (175°C). Line a 9×13-inch baking dish with parchment paper.
- In a large bowl, combine rolled oats, chopped mixed nuts, seeds, dried fruit, and cinnamon.
- In a separate bowl, mix nut butter, honey (or maple syrup), vanilla extract, and salt until smooth.
- Pour the wet mixture over the dry ingredients and stir until everything is evenly coated.
- Transfer the mixture to the baking dish and press it down firmly.
- Bake for 20-25 minutes until golden brown.
- Let cool in the pan for 10-15 minutes, then lift out using the parchment paper and cool completely before cutting into bars.
- Store in an airtight container for up to one week.