Simple Steps to Make the Best Fluffy Buttermilk Biscuits at Home

There’s nothing quite like warm, homemade buttermilk biscuits. Whether you’re slathering them with butter and jam, piling them high with sausage gravy, or enjoying them as a side to a cozy dinner, buttermilk biscuits are a true classic that never goes out of style.
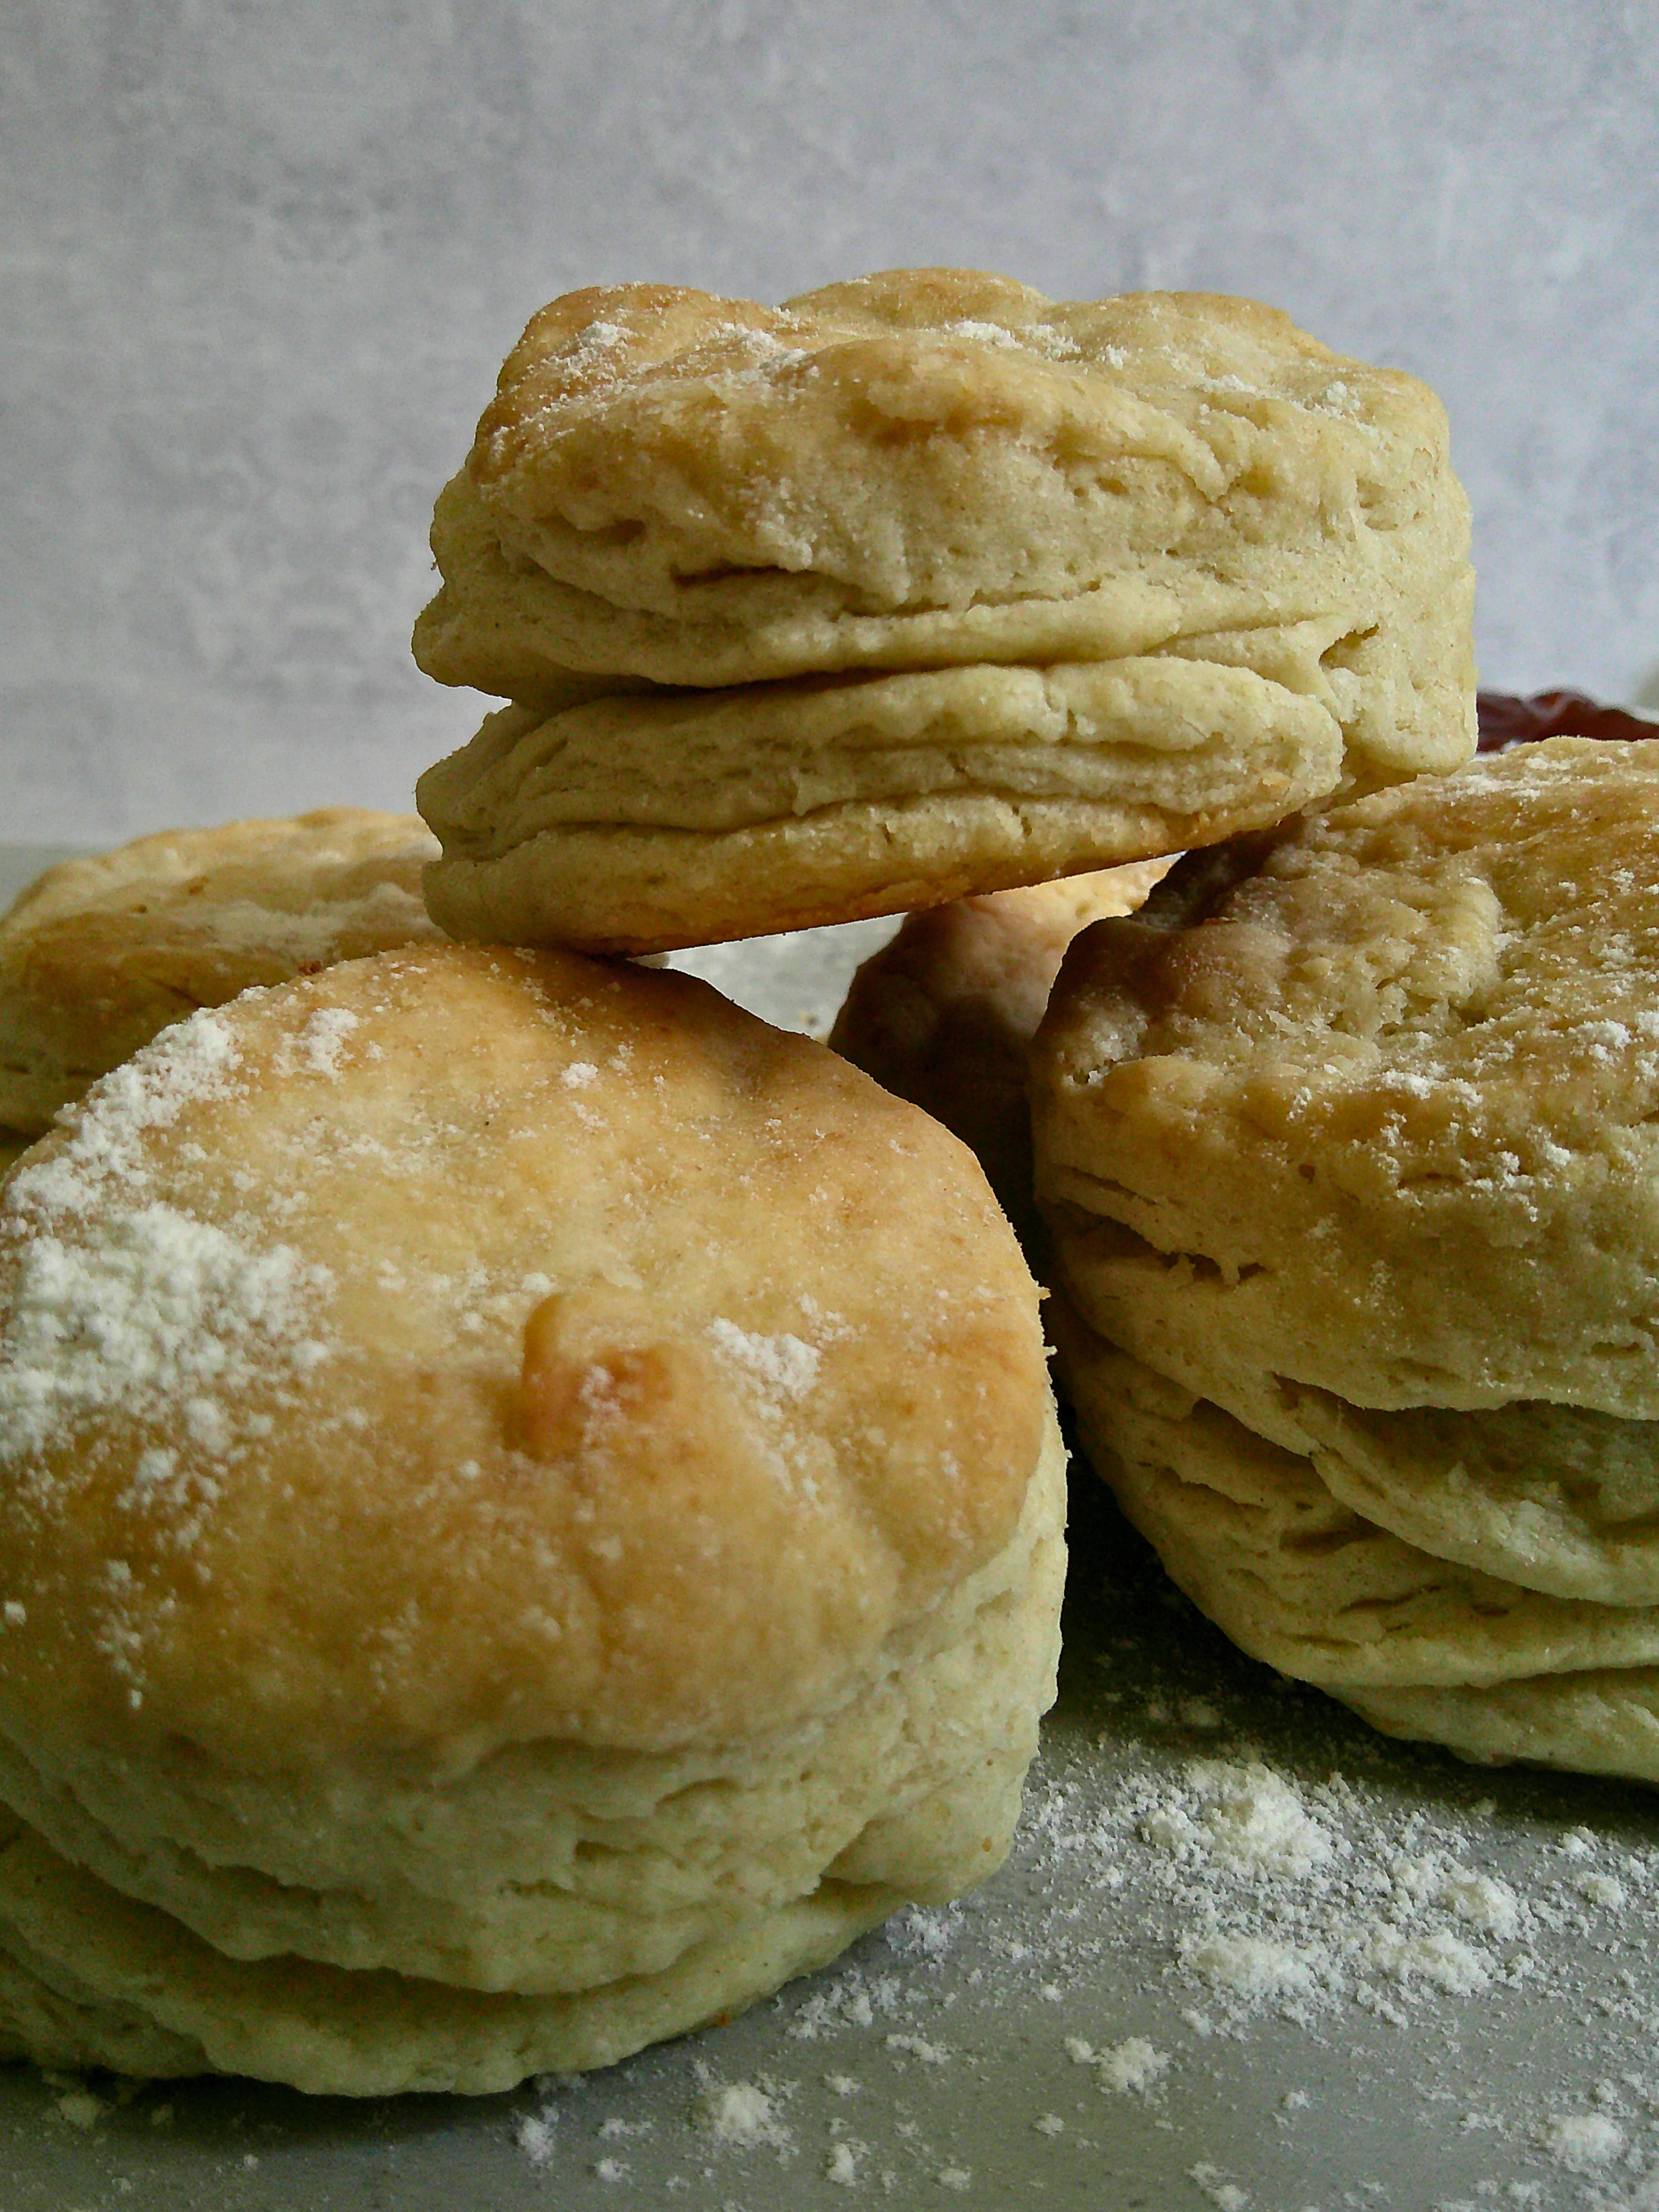
If you’ve ever been intimidated by making biscuits from scratch, don’t worry—this recipe is easy, quick, and uses just a handful of simple ingredients you likely already have in your kitchen. The secret to the perfect buttermilk biscuit lies in the cold butter and buttermilk, which help create the signature flaky layers and fluffy texture.
By the end of this post, you’ll have all the tips and tricks you need to bake the best buttermilk biscuits that are soft on the inside, golden on the outside, and utterly irresistible.
Why You’ll Love This Buttermilk Biscuit Recipe
– Quick and Easy: With just 15 minutes of prep time and a quick bake, you’ll have fresh biscuits on the table in no time.
– Simple Ingredients: You only need flour, baking powder, salt, butter, and buttermilk to make these fluffy biscuits.
– Flaky Layers: Cold butter and the right folding technique will give you those perfect flaky layers everyone loves.
– Versatile: Whether for breakfast, lunch, or dinner, these biscuits are the perfect companion to any meal.
What You’ll Need for Buttermilk Biscuits
Here’s a quick rundown of the ingredients you’ll need to make the best buttermilk biscuits from scratch:
– Flour (2 cups): All-purpose flour works best for these biscuits, giving them structure without making them too dense.
– Baking Powder (2 tsp): Baking powder helps the biscuits rise, giving them a light and fluffy texture.
– Salt (1 tsp): Salt enhances the flavor and balances the richness of the butter and buttermilk.
– Baking Soda (¼ tsp): Just a little baking soda helps activate the buttermilk, adding extra tenderness to the biscuits.
– Cold Butter (7 Tbsp): Cold, cubed butter is essential for creating flaky layers. As the butter melts during baking, it creates pockets of steam, which is what makes the biscuits rise and puff up.
– Buttermilk (¾ cup):Buttermilk gives the biscuits a tangy flavor and adds moisture, helping them stay soft and tender.
Step-by-Step Guide to Making Fluffy Buttermilk Biscuits
Step 1: Preheat Your Oven
Start by preheating your oven to 375°F (190°C). While the oven heats, get your ingredients ready so the butter stays cold until you’re ready to use it.
Step 2: Mix Dry Ingredients
In a large mixing bowl, whisk together the flour, baking powder, salt, and baking soda. Make sure everything is evenly combined—this will ensure your biscuits rise properly and have a nice, consistent flavor.
Step 3: Cut in the Butter
Now for the fun part—cutting in the butter! Take your cold, cubed butter and add it to the dry ingredients. Using a pastry cutter or your fingers, work the butter into the flour mixture until it resembles coarse crumbs. The butter pieces should be about the size of peas. Be careful not to overwork it—you want those little bits of butter to stay cold and intact, as they’ll create the flaky layers.
Pro Tip: If your kitchen is warm and the butter starts to soften, you can pop the mixture into the fridge for a few minutes to keep everything cold.
Step 4: Add the Buttermilk
Next, pour in the buttermilk and gently stir the mixture with a fork or wooden spoon until it just comes together. Be careful not to overmix—you want the dough to be slightly shaggy and a little sticky. Overmixing will make your biscuits tough instead of tender and flaky.
If the dough seems too dry, you can add a tablespoon of extra buttermilk at a time until it’s just moistened.
Step 5: Form the Dough
Lightly flour a clean surface and turn the dough out onto it. Gently knead the dough a few times—no more than 4 or 5 folds—until it comes together in a rough ball. The key is to work quickly and handle the dough as little as possible to keep the butter cold and the gluten from developing too much.
Pat the dough into a 1-inch thick rectangle or circle. You can use a rolling pin, but your hands will work just fine. The thickness of the dough is crucial here—too thin, and your biscuits won’t rise as high.
Step 6: Cut Out the Biscuits
Using a biscuit cutter (or a glass if you don’t have one), cut out your biscuits by pressing straight down and lifting up. Don’t twist the cutter, as this can seal the edges and prevent the biscuits from rising properly.
Gather the scraps of dough, gently press them back together, and cut out more biscuits until you’ve used up all the dough. You should get about 8-10 biscuits depending on the size of your cutter.
Step 7: Bake the Biscuits
Place the biscuits on a baking sheet lined with parchment paper or a silicone baking mat, making sure they’re close together but not touching. This will help them rise taller as they bake.
Brush the tops with a little melted butter or buttermilk for a golden, crispy top, then bake the biscuits in your preheated oven for about 12-15 minutes, or until they’re golden brown on top and cooked through.
Step 8: Serve and Enjoy
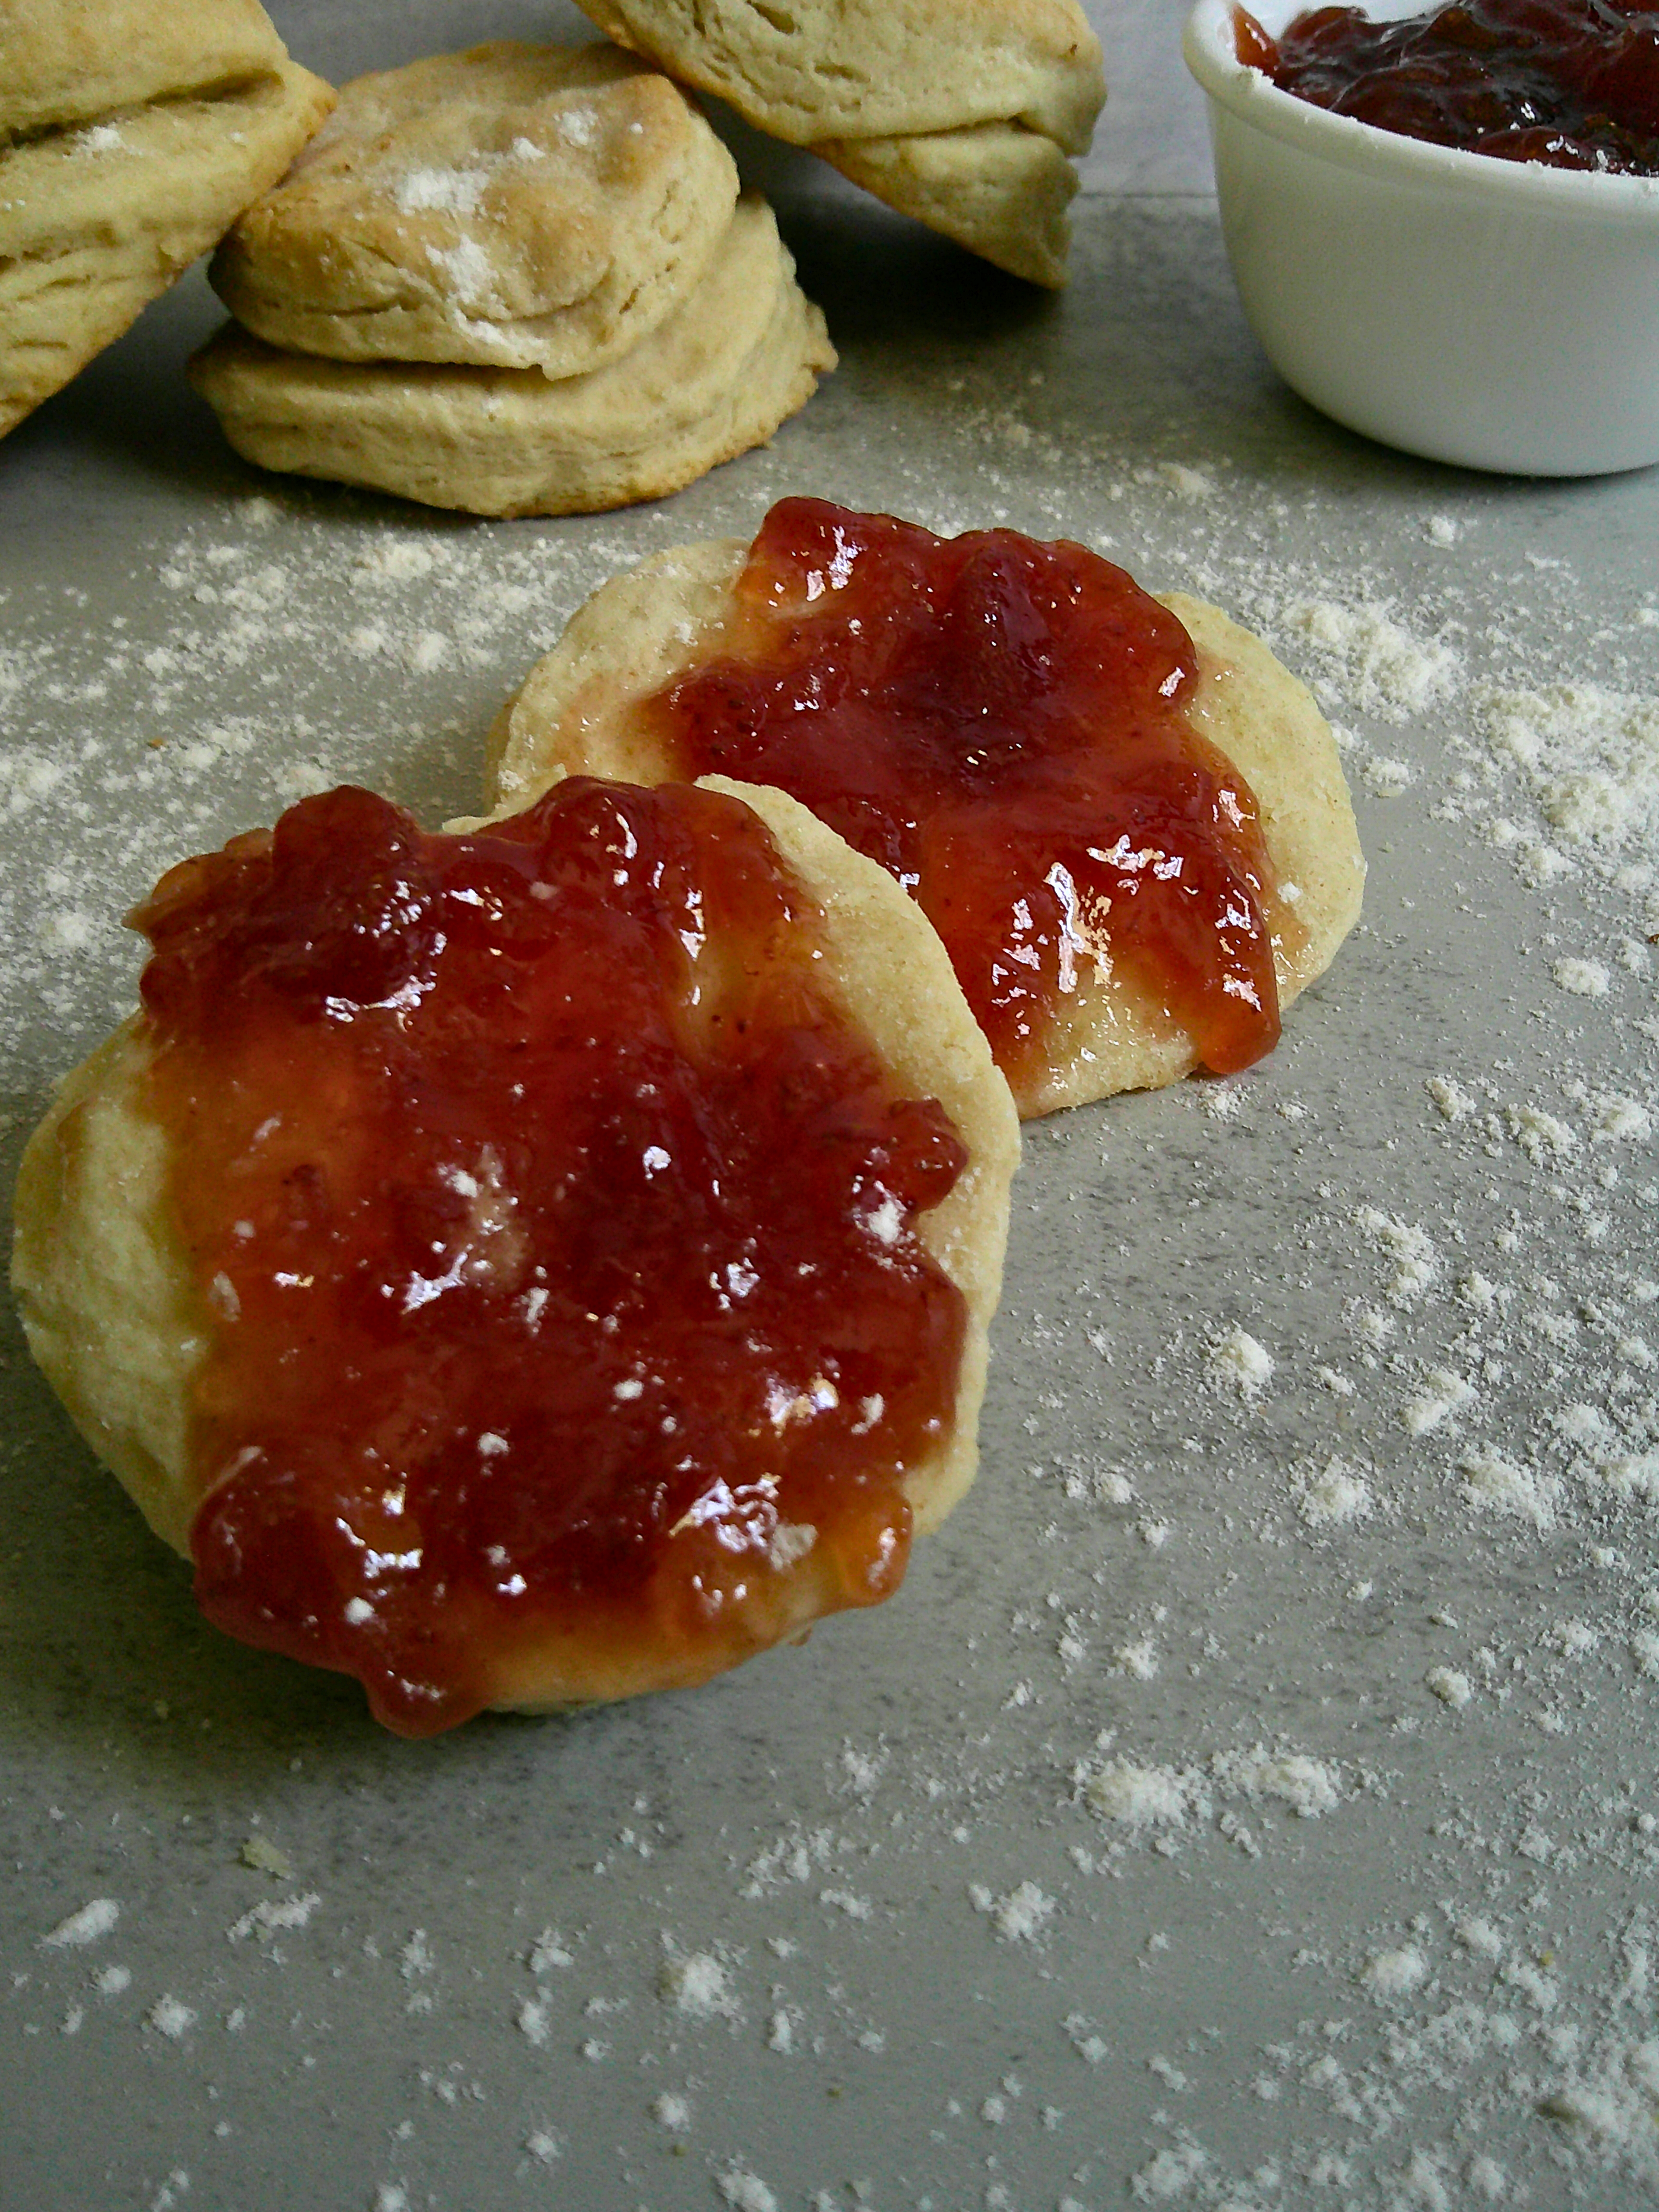
Once the biscuits are done baking, remove them from the oven and let them cool for a minute or two before serving. These buttermilk biscuits are best enjoyed warm with butter, jam, or honey. You can also serve them alongside a hearty breakfast, or use them to make breakfast sandwiches or biscuits and gravy.
Tips for the Best Buttermilk Biscuits
– Keep Your Ingredients Cold: Cold butter and buttermilk are the key to flaky biscuits. If the butter melts before it hits the oven, your biscuits won’t rise as well.
– Don’t Overwork the Dough: The less you handle the dough, the better. Overworking it can result in tough, dense biscuits.
– Use a Biscuit Cutter for Tall Biscuits: A sharp, straight biscuit cutter will help your biscuits rise high. Press straight down and lift up without twisting to keep the edges intact.
– Freeze Before Baking (Optional): If you want to prep biscuits ahead of time, you can freeze the unbaked biscuits on a baking sheet, then transfer them to a zip-top bag once frozen. When you’re ready to bake, simply add a couple of extra minutes to the baking time.
Buttermilk Biscuit Variations
While classic buttermilk biscuits are perfect on their own, there are plenty of ways to switch up the recipe to suit your taste:
– Cheddar and Chive Biscuits: Add 1 cup of shredded cheddar cheese and 2 tablespoons of chopped chives to the dough for a savory twist.
– Herb Biscuits: Mix in 1-2 tablespoons of fresh herbs like rosemary, thyme, or parsley for a fragrant, flavorful biscuit.
– Sweet Biscuits: For a sweeter biscuit, add 2-3 tablespoons of sugar to the dry ingredients and serve with a drizzle of honey or a dusting of powdered sugar.
– Spicy Biscuits: Stir in ½ teaspoon of cayenne pepper or smoked paprika for a subtle kick of heat.
What to Serve with Buttermilk Biscuits
Buttermilk biscuits are incredibly versatile and pair well with a variety of dishes. Here are some ideas for what to serve with your biscuits:
– Breakfast: Serve biscuits with scrambled eggs, bacon, or sausage for a classic breakfast. You can also use them to make breakfast sandwiches by adding fried eggs, cheese, and breakfast sausage or ham.
– Biscuits and Gravy: Top your biscuits with creamy sausage gravy for a hearty Southern breakfast.
– Fried Chicken: Pair buttermilk biscuits with crispy fried chicken for a true comfort food meal.
– Soups and Stews: Biscuits make a great side for a bowl of chili, beef stew, or creamy soup like chicken and rice.
– Jams and Preserves: Biscuits are the perfect canvas for homemade jams, jellies, and fruit preserves.
How to Store Buttermilk Biscuits
If you have leftovers (which is rare with these tasty biscuits!), here’s how to store them:
– Room Temperature: Biscuits can be stored in an airtight container at room temperature for up to 2 days. Reheat them in the oven at 350°F for 5-10 minutes to warm them up before serving.
– Freezer: Biscuits freeze beautifully! Place cooled biscuits in a zip-top bag and freeze for up to 3 months. To reheat, bake the frozen biscuits at 350°F for 10-15 minutes until warmed through.
Wrapping Up
Making buttermilk biscuits from scratch is one of those simple pleasures that delivers big rewards. Whether you’re whipping them up for a weekend breakfast or adding them to a special dinner, these biscuits are guaranteed to impress. With their flaky layers, buttery flavor, and tender crumb, you’ll find yourself making them again and again.
Try this recipe the next time you’re craving something warm, comforting, and utterly delicious. And don’t forget to experiment with different flavors and pairings to make these biscuits your own!

Fluffy Buttermilk Biscuits
Ingredients
- 2 Cups All-purpose Flour
- 2 tsp Baking Powder
- 1 tsp Salt
- 1/4 tsp Baking Soda
- 7 Tbsp Cold Butter Cubed
- 3/4 Cup Buttermilk
Instructions
- Preheat the oven to 375°F.
- Whisk together the flour, baking powder, salt, and baking soda in a large bowl.
- Cut in the cold butter until the mixture resembles coarse crumbs.
- Stir in the buttermilk until the dough just comes together.
- Turn the dough out onto a floured surface and gently knead.
- Pat the dough to 1-inch thickness and cut out biscuits.
- Place on a baking sheet and bake for 12-15 minutes until golden brown.
I LOVE buttermilk biscuits. This recipe is a bit different from the one I normally make, so I will have to give it a try and see how it compares. Can’t wait to give it a try.
These look so yummy! Thanks for sharing!