How to Make the Best Glazed Carrots in Just 25 Minutes
When it comes to side dishes, glazed carrots are a classic that never disappoints. They’re sweet, tender, and bursting with flavor, making them the perfect accompaniment to any meal. Whether you’re serving them at a holiday feast, a family dinner, or a casual weeknight meal, these glazed carrots are sure to impress. Today, I’m excited to share my favorite recipe for glazed carrots that’s simple to make and absolutely delicious!
Why Glazed Carrots?
Glazed carrots are more than just a colorful addition to your plate; they bring a delightful balance of sweetness and earthiness that pairs beautifully with savory dishes. The natural sweetness of the carrots shines through, enhanced by the rich flavors of brown sugar, honey, and butter. Plus, they’re a great way to sneak some veggies onto your table without anyone complaining!
Nutritional Benefits of Carrots
Carrots are not only delicious but also incredibly nutritious. They’re packed with vitamins and minerals, especially vitamin A, which is essential for healthy vision. Carrots also contain antioxidants and dietary fiber, making them a great choice for promoting overall health. So, when you’re serving glazed carrots, you can feel good knowing you’re adding a nutritious side to your meal.
Ingredients You’ll Need
Let’s gather the ingredients you’ll need to make these delicious glazed carrots. You might already have most of these items in your pantry!
For the Glazed Carrots:
- 1 lb carrots: Fresh, crunchy carrots are the star of this dish. You can use whole carrots or baby carrots, depending on your preference.
- ¼ cup brown sugar: This adds a deep, caramel-like sweetness that pairs perfectly with the natural sugars in the carrots.
- 3 tablespoons butter: Adds richness and helps the sugar melt into a delicious glaze.
- ½ cup honey: For an extra layer of sweetness and a lovely stickiness that will make these carrots irresistible.
- Pinch of salt: Just a tiny bit to balance the sweetness and enhance the overall flavor.
Step-by-Step Instructions
Making glazed carrots is incredibly easy and requires just a few simple steps. Let’s get started!
Step 1: Prepare the Carrots
First, you’ll want to prepare your carrots. If you’re using whole carrots, wash them thoroughly and peel them using a vegetable peeler. Cut them into evenly sized pieces—about 1 to 2 inches long works well. If you’re using baby carrots, you can skip this step!
Step 2: Boil the Carrots
In a medium-sized pot, bring water to a boil. Add the prepared carrots and a pinch of salt. Boil the carrots for about 5-7 minutes until they’re tender but still crisp. You don’t want them mushy; they should have a slight bite to them. Once cooked, drain the carrots and set them aside.
Step 3: Make the Glaze
In the same pot, melt the butter over medium heat. Once the butter is melted, add the brown sugar and stir until it begins to dissolve. This will take just a minute or so.
Next, add the honey and a pinch of salt to the pot. Stir everything together, and let it cook for an additional 2-3 minutes until the mixture is bubbly and slightly thickened. The aroma will be heavenly!
Step 4: Combine Carrots and Glaze
Now it’s time to add the cooked carrots back into the pot with the glaze. Gently stir the carrots in the glaze, ensuring they’re fully coated. Cook for another 2-3 minutes, allowing the carrots to soak up all that sweet goodness.
Step 5: Serve and Enjoy!
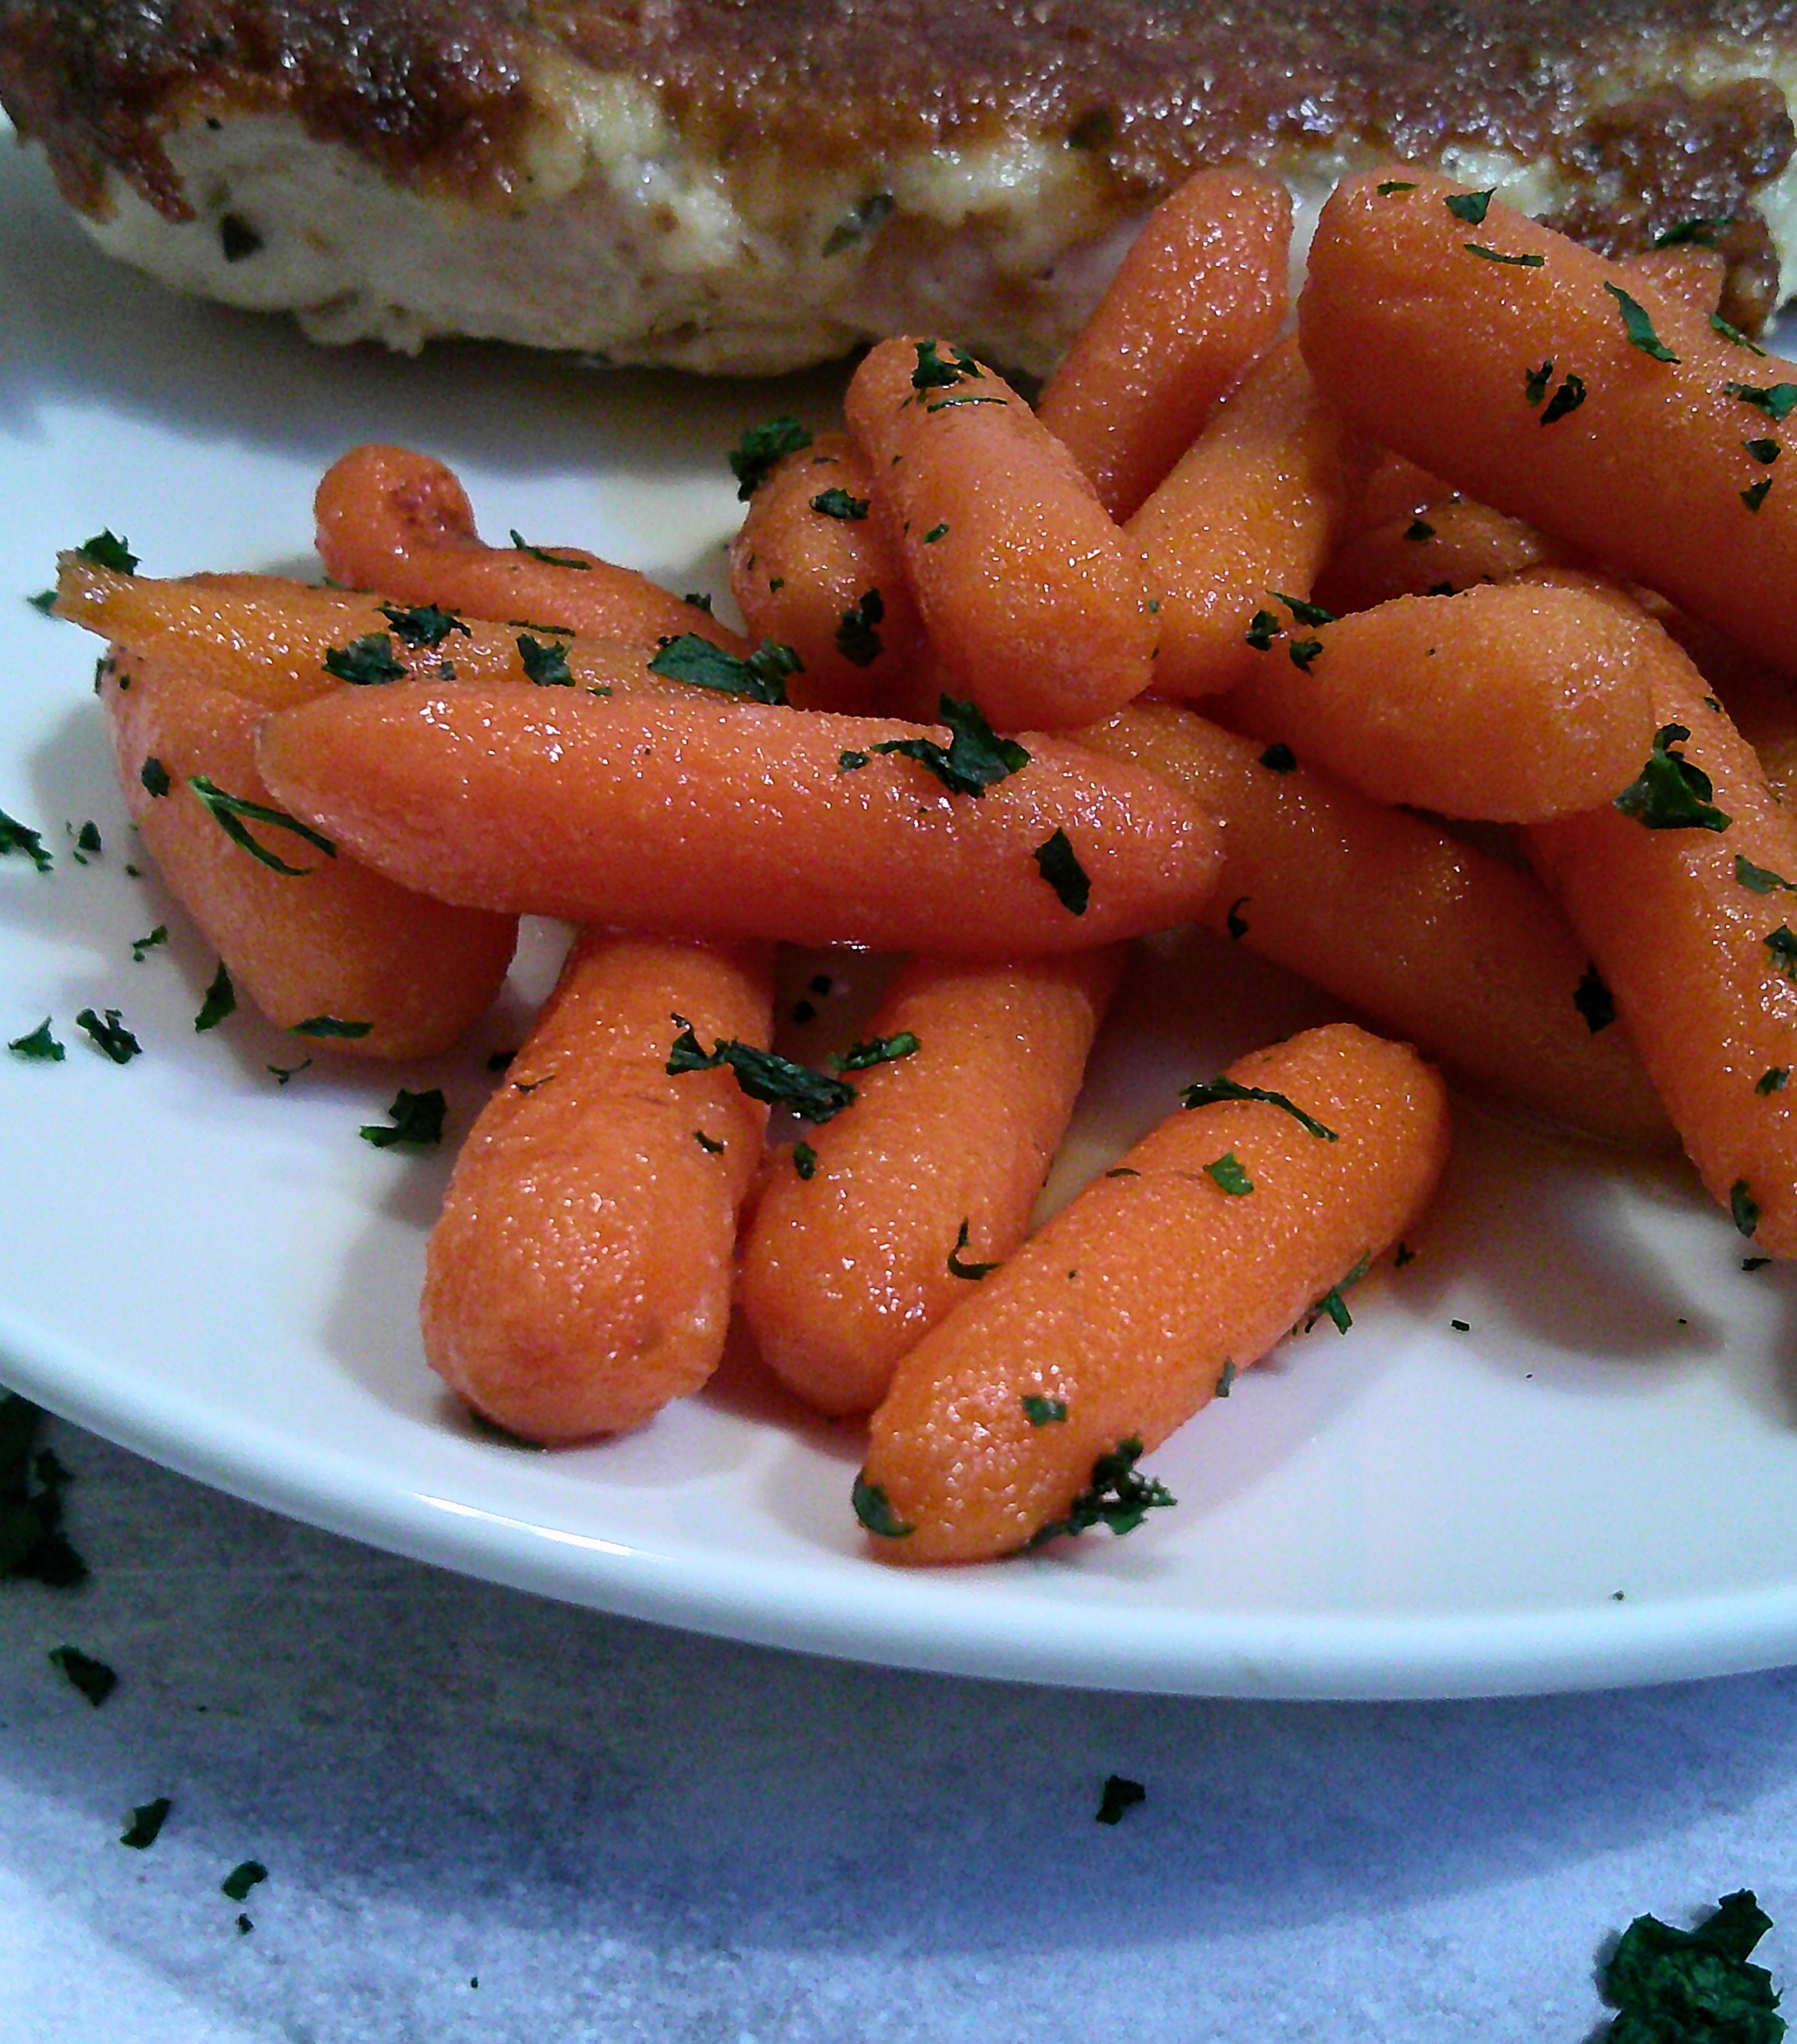
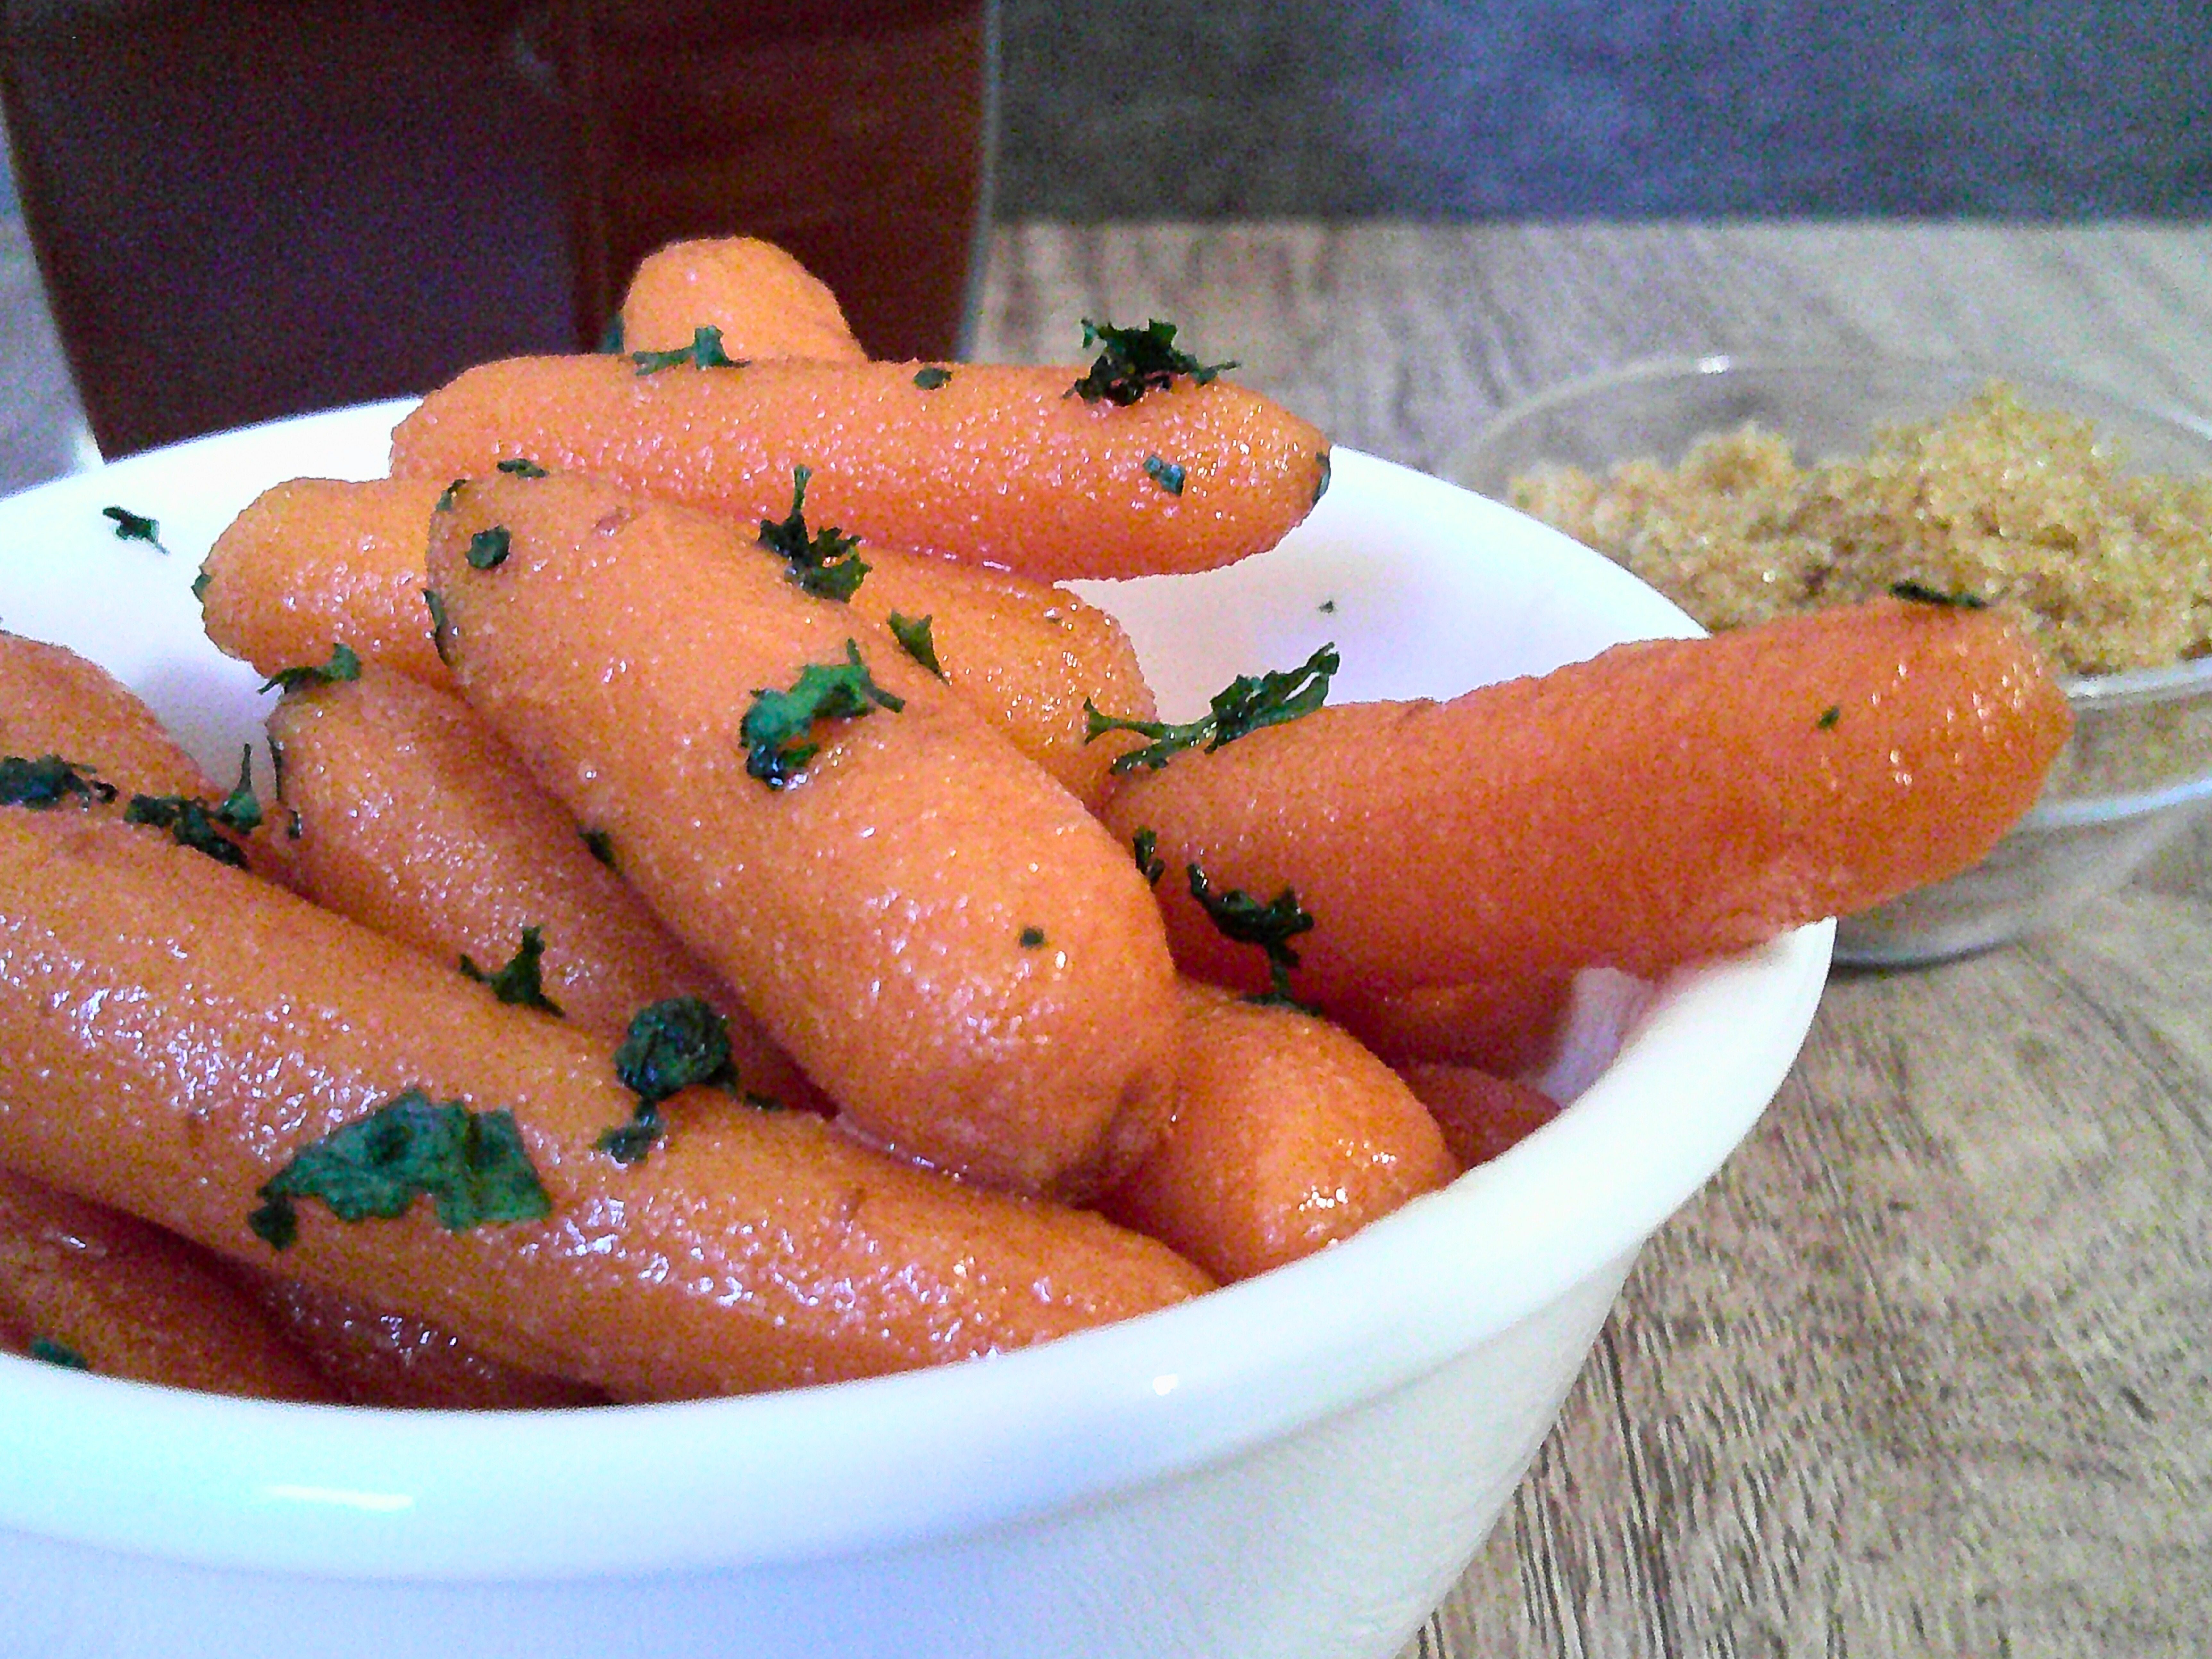
Once the carrots are nicely glazed and heated through, remove them from the heat and transfer them to a serving dish. You can garnish with a sprinkle of fresh parsley or thyme for a pop of color, but that’s entirely optional. Serve warm and watch them disappear!
Tips for Perfect Glazed Carrots
- Choose Fresh Carrots: Fresh, organic carrots will have the best flavor. Look for ones that are bright orange and firm to the touch.
- Adjust the Sweetness: If you prefer less sweetness, you can reduce the amount of brown sugar or honey to your taste.
- Add Some Spice: Feel free to spice things up by adding a pinch of cinnamon or nutmeg to the glaze for a warm flavor.
- Experiment with Add-ins: Consider adding chopped pecans or walnuts for some crunch, or a splash of orange juice for a citrusy twist.
Serving Suggestions
Glazed carrots pair beautifully with a variety of main dishes. Here are some ideas for serving:
- Roast Chicken: The sweetness of the glazed carrots complements the savory flavors of roast chicken perfectly.
- Grilled Steak: Add a pop of color and sweetness to your steak dinner with these delicious carrots.
- Pork Chops: The flavors of honey and brown sugar in the glaze work wonderfully with pork.
- Vegetarian Dishes: Serve alongside a grain bowl or a hearty salad for a satisfying vegetarian meal.
Frequently Asked Questions
1. Can I Make Glazed Carrots Ahead of Time?
Yes! You can prepare the carrots and glaze in advance. Simply store the cooked carrots and glaze in an airtight container in the fridge for up to 3 days. When ready to serve, reheat them in a skillet until warmed through.
2. Can I Use Other Vegetables?
Absolutely! This glaze works well with other vegetables like parsnips, sweet potatoes, or even Brussels sprouts. Just adjust the cooking time as needed.
3. Are Glazed Carrots Healthy?
While glazed carrots do have added sugar, they are still a healthy vegetable option. You can also adjust the sweetness to fit your dietary needs!
4. How Do I Store Leftovers?
Store any leftover glazed carrots in an airtight container in the refrigerator for up to 3 days. Reheat in the microwave or on the stove-top.
Conclusion
There you have it! A simple and delicious recipe for glazed carrots that will make any meal feel special. With just a few ingredients and easy steps, you can create a side dish that’s both flavorful and nutritious. Whether you’re celebrating a special occasion or simply enjoying a weeknight dinner, these glazed carrots are sure to steal the show.
So, grab your carrots and get cooking! You won’t regret making this delightful dish that’s bound to become a family favorite.
Glazed Carrots
Ingredients
- 1 lb Carrots Baby or peeled and cut into 1-2 inch pieces
- 1/4 Cup Brown Sugar
- 3 Tbsp Butter
- 1/2 Cup Honey
- Pinch Salt
Instructions
- Bring water to a boil in a medium pot. Add carrots and a pinch of salt. Boil for 5-7 minutes until tender but crisp. Drain.
- In the same pot, melt butter over medium heat. Add brown sugar and stir until dissolved.
- Add honey and a pinch of salt. Cook for 2-3 minutes until bubbly.
- Add the cooked carrots to the glaze and stir to coat. Cook for another 2-3 minutes.
- Serve warm and enjoy!