The Best Homemade Hummus Recipe: Creamy, Delicious, and Easy to Make

Hummus has quickly become a favorite snack for many, and for good reason. It’s creamy, packed with flavor, and incredibly versatile. Whether you’re spreading it on a sandwich, using it as a dip for veggies or pita bread, or adding it to a salad, hummus can elevate just about any meal. Plus, it’s healthy, full of protein, fiber, and healthy fats—making it the perfect go-to snack when you’re craving something tasty but want to keep it nutritious.
Making hummus from scratch might sound intimidating, but it’s actually incredibly simple. With just a few ingredients and a food processor or blender, you can whip up a batch of fresh, homemade hummus in less than 10 minutes. The result? A creamy, smooth, and flavorful dip that’s far better than anything you’ll find in a store-bought container.
In this post, I’ll walk you through the process of making the perfect hummus, along with some tips for achieving the smoothest texture and the best flavors. Plus, we’ll explore some fun variations to suit your personal tastes. Let’s dive in!
Why Make Hummus at Home?
Before we jump into the recipe, let’s talk about why making hummus at home is worth it:
1. Better Flavor: Freshly made hummus tastes far superior to store-bought versions. You can adjust the seasoning to your liking and enjoy that just-made freshness.
2. Healthier: When you make hummus at home, you control the ingredients. No preservatives, no unnecessary oils—just wholesome, real ingredients.
3. Cost-Effective: Store-bought hummus can get pricey. With a few pantry staples, you can make a large batch of hummus for a fraction of the cost.
4. Customizable: You can adjust the flavors to your liking—whether you want it spicier, zestier, or richer. Plus, you can add any of your favorite mix-ins like roasted red peppers or olives.
Ingredients for the Perfect Hummus
The beauty of hummus lies in its simplicity. While there are endless variations, here’s a basic hummus recipe using the following ingredients:
– Chickpeas (30 oz): Canned chickpeas work great for convenience, but you can use dried chickpeas if you prefer. Just cook them until tender.
– Garlic (2-3 cloves): Fresh garlic gives hummus a strong and bold flavor. Adjust based on your garlic tolerance!
– Lemon Juice (3 Tbsp): Lemon adds brightness and acidity to balance the rich creaminess of the chickpeas.
– Olive Oil (1 Tbsp): Olive oil adds richness and smooths the texture. You can drizzle more on top before serving.
– Paprika (½ tsp): A dash of paprika provides a subtle smokiness that complements the other flavors.
– Cumin (¼ tsp): Ground cumin adds warmth and earthiness, rounding out the flavor.
– Salt and Pepper (TT): “TT” stands for “to taste.” Season your hummus with salt and pepper based on your personal preference.
How to Make Hummus: Step-by-Step Guide
Let’s get into the process! Making hummus at home couldn’t be easier. Here’s a simple step-by-step guide to help you achieve that creamy, smooth texture and delicious flavor.
Step 1: Prepare the Chickpeas
If you’re using canned chickpeas, drain and rinse them thoroughly under cold water. This helps remove excess sodium and improves the overall texture of the hummus. If you want to make your hummus extra smooth, you can peel the chickpeas by gently rubbing them between your fingers to remove the skins. While this step is optional, it results in the creamiest hummus ever.
If you’re starting with dried chickpeas, soak them overnight in water, then cook them until they’re tender. This method can also give you a smoother texture, but it does require a bit more time.
Step 2: Blend the Garlic and Lemon Juice
To mellow out the sharpness of the garlic and ensure it’s evenly distributed throughout the hummus, start by blending the garlic cloves and lemon juice together in a food processor or blender. Let this mixture sit for a minute or two. This helps infuse the lemon with garlic flavor, giving your hummus a more balanced taste.
Step 3: Add the Chickpeas and Other Ingredients
Once the garlic and lemon juice have had a chance to mingle, add your chickpeas, olive oil, paprika, cumin, and a pinch of salt and pepper. Start blending everything together.
Step 4: Adjust Texture
At this point, the hummus will likely be a little thick. To get that creamy texture we all love, slowly add cold water, one tablespoon at a time, while the food processor is running. Keep blending and adding water until you reach your desired consistency. You’ll probably need around 2-4 tablespoons of water, depending on how thick or smooth you want your hummus to be.
Step 5: Taste and Season
Once your hummus is smooth, taste it. This is where you adjust the seasoning. Add more salt, pepper, or lemon juice as needed. You can also sprinkle in more cumin or paprika if you want a stronger flavor.
Step 6: Serve and Garnish
Transfer the hummus to a serving bowl and drizzle with a bit of olive oil. Sprinkle some extra paprika or cumin on top for color, and if you’re feeling fancy, you can garnish with fresh herbs like parsley or cilantro, or add a handful of pine nuts for crunch.
Tips for the Smoothest Hummus
Achieving that perfect, velvety texture can take a bit of practice, but these tips will help you get it just right:
– Peel the Chickpeas: For the smoothest hummus, peel the chickpeas before blending. While this step is a bit tedious, it makes a huge difference in texture.
– Use Cold Water: Adding cold water to the mixture while blending helps create a smoother and creamier consistency. Don’t skip this step!
– Blend, Blend, Blend: Don’t be afraid to let your food processor run for a few minutes. The longer you blend, the smoother your hummus will be.
– Adjust to Your Liking: If you prefer a thicker hummus, add less water. If you like it thinner, add more water. You can also adjust the seasoning as you go—making it perfect for your taste buds.
Hummus Variations
One of the best things about hummus is how easy it is to customize. Here are some fun and flavorful variations to try:
– Roasted Red Pepper Hummus: Add a jarred or freshly roasted red pepper to the food processor for a smoky and slightly sweet twist on classic hummus.
– Garlic Lovers Hummus: Double the garlic for a bold, garlicky punch. You can also roast the garlic for a milder, sweeter flavor.
– Spicy Hummus: Add a chopped jalapeño or a teaspoon of cayenne pepper to give your hummus some heat.
– Herb Hummus: Blend in fresh herbs like parsley, cilantro, or basil for a green and fresh-tasting hummus.
– Sun-Dried Tomato Hummus: Toss in a few sun-dried tomatoes for a rich, tangy flavor.
What to Serve with Hummus
Hummus is incredibly versatile and pairs well with a wide variety of dippers and dishes. Here are some ideas for what to serve alongside your homemade hummus:
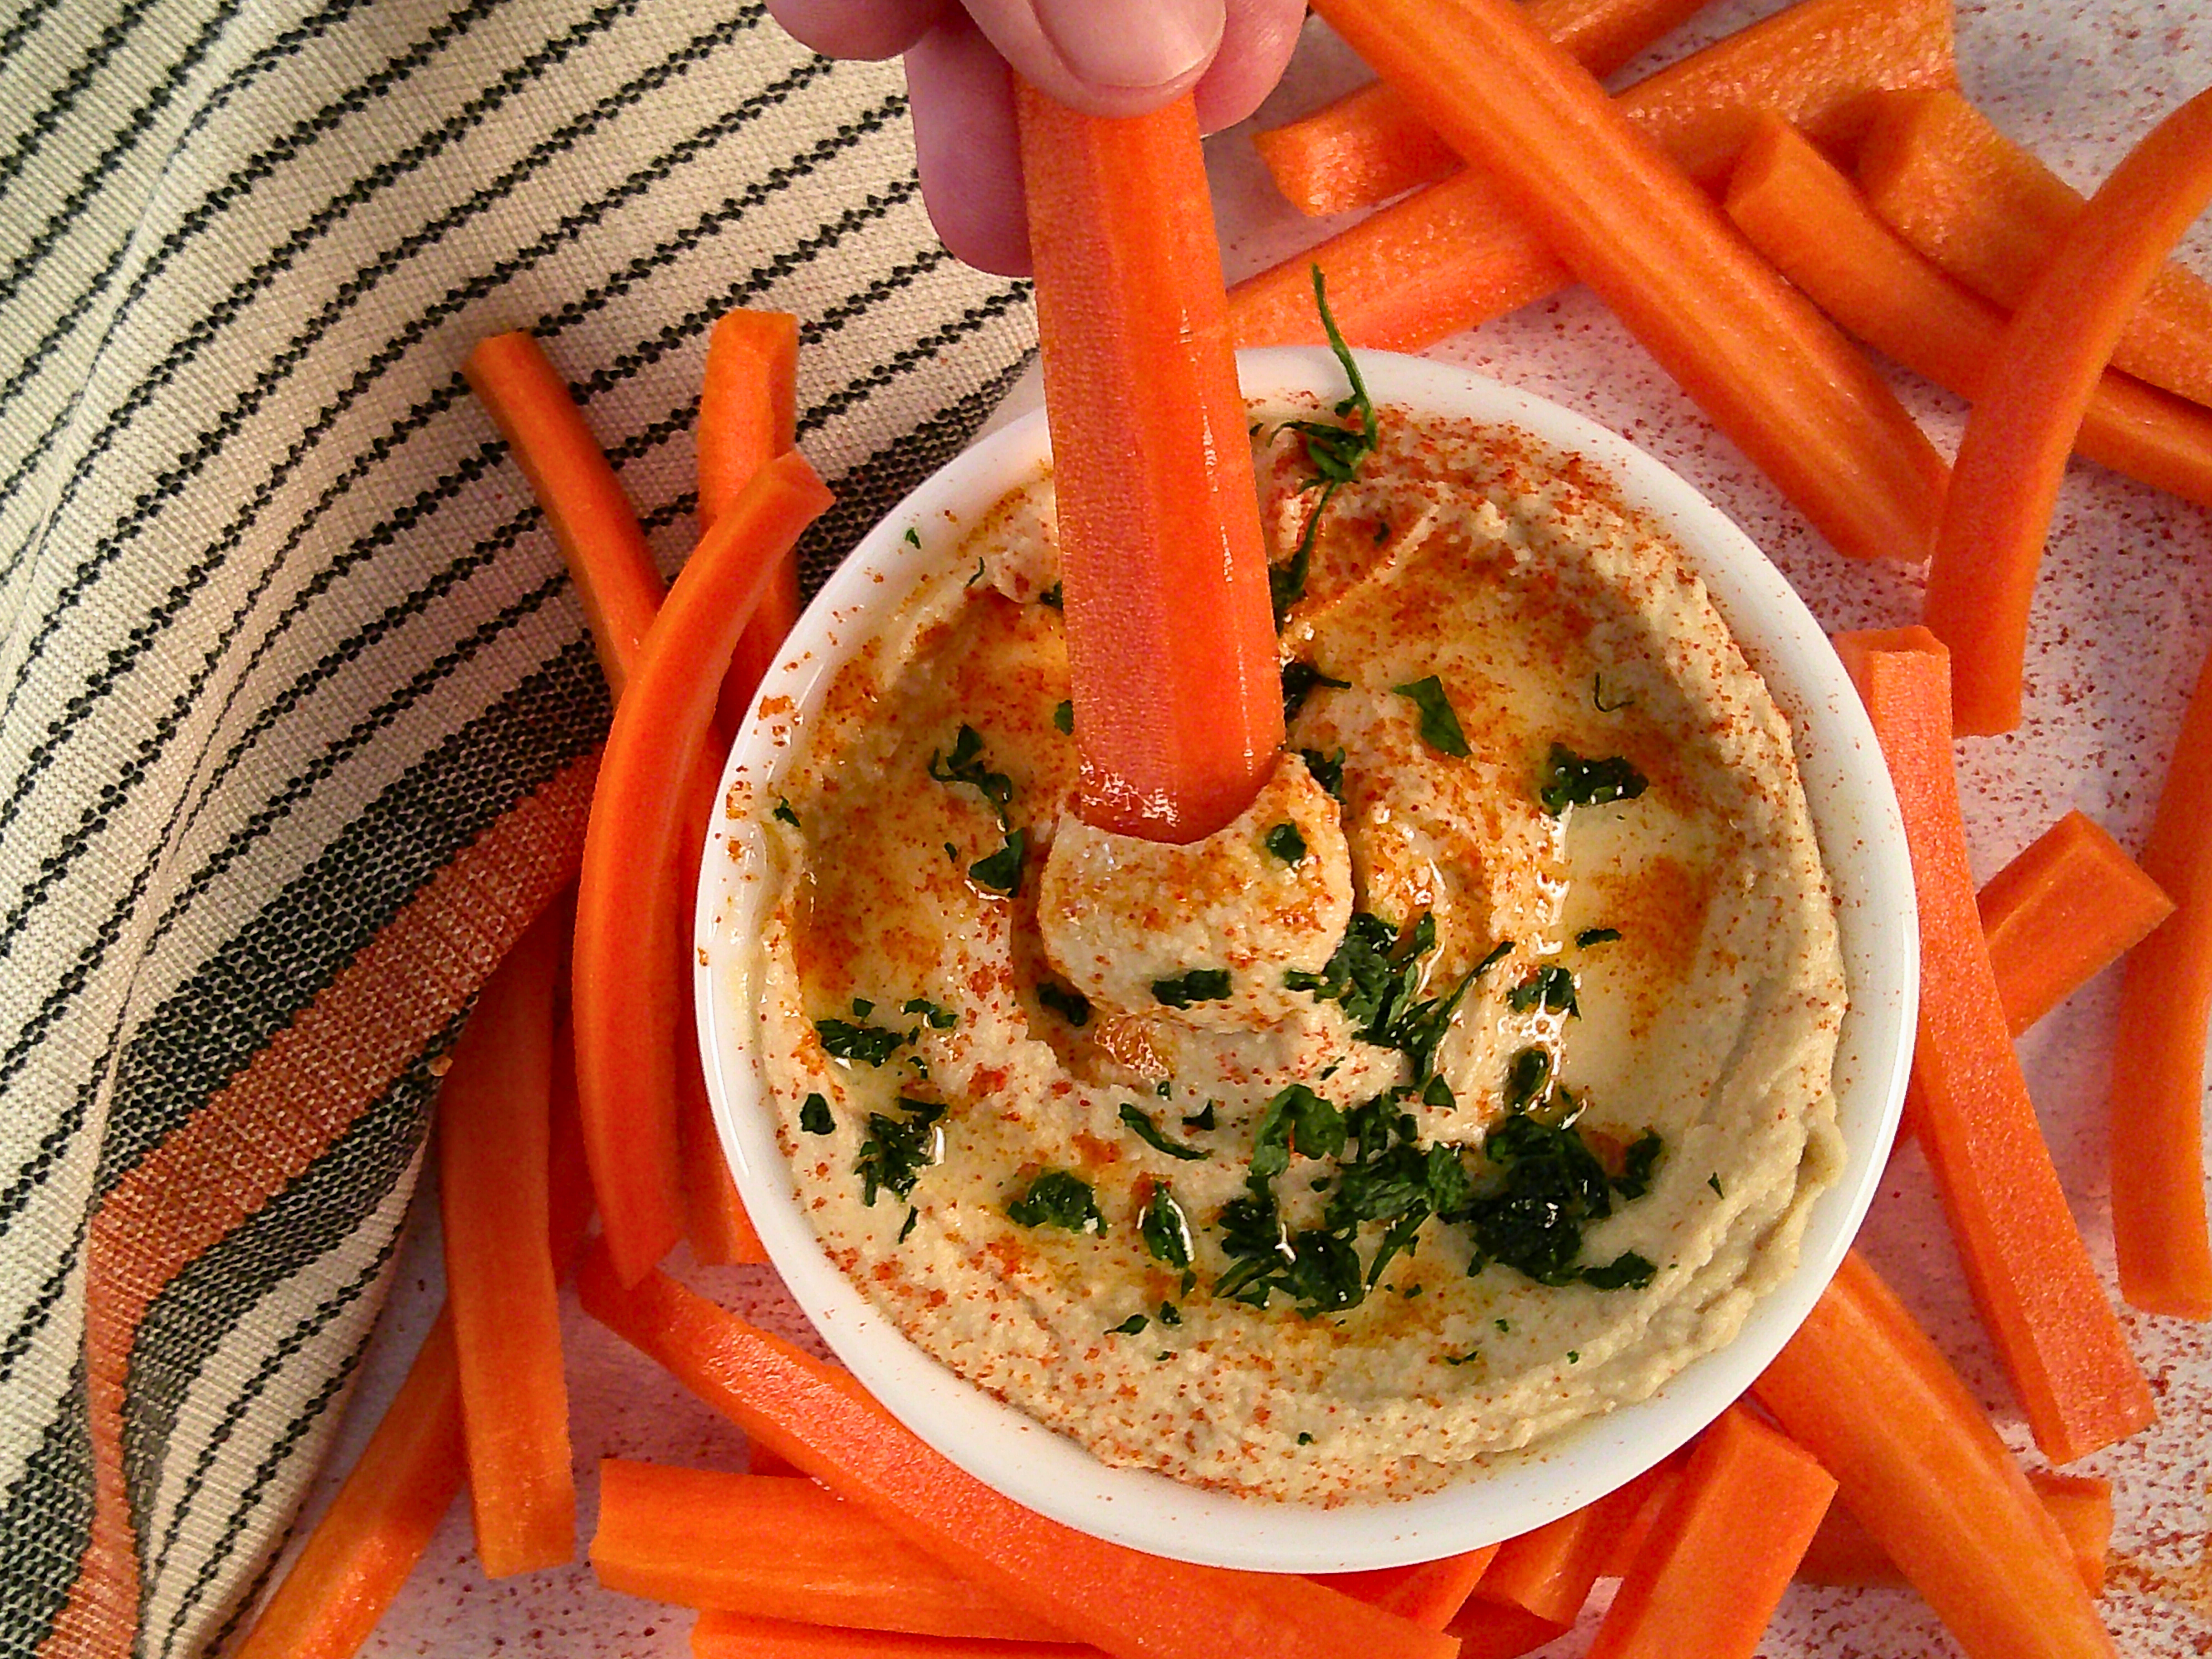
– Fresh Veggies: Carrot sticks, cucumber slices, bell peppers, and cherry tomatoes are all great for dipping.
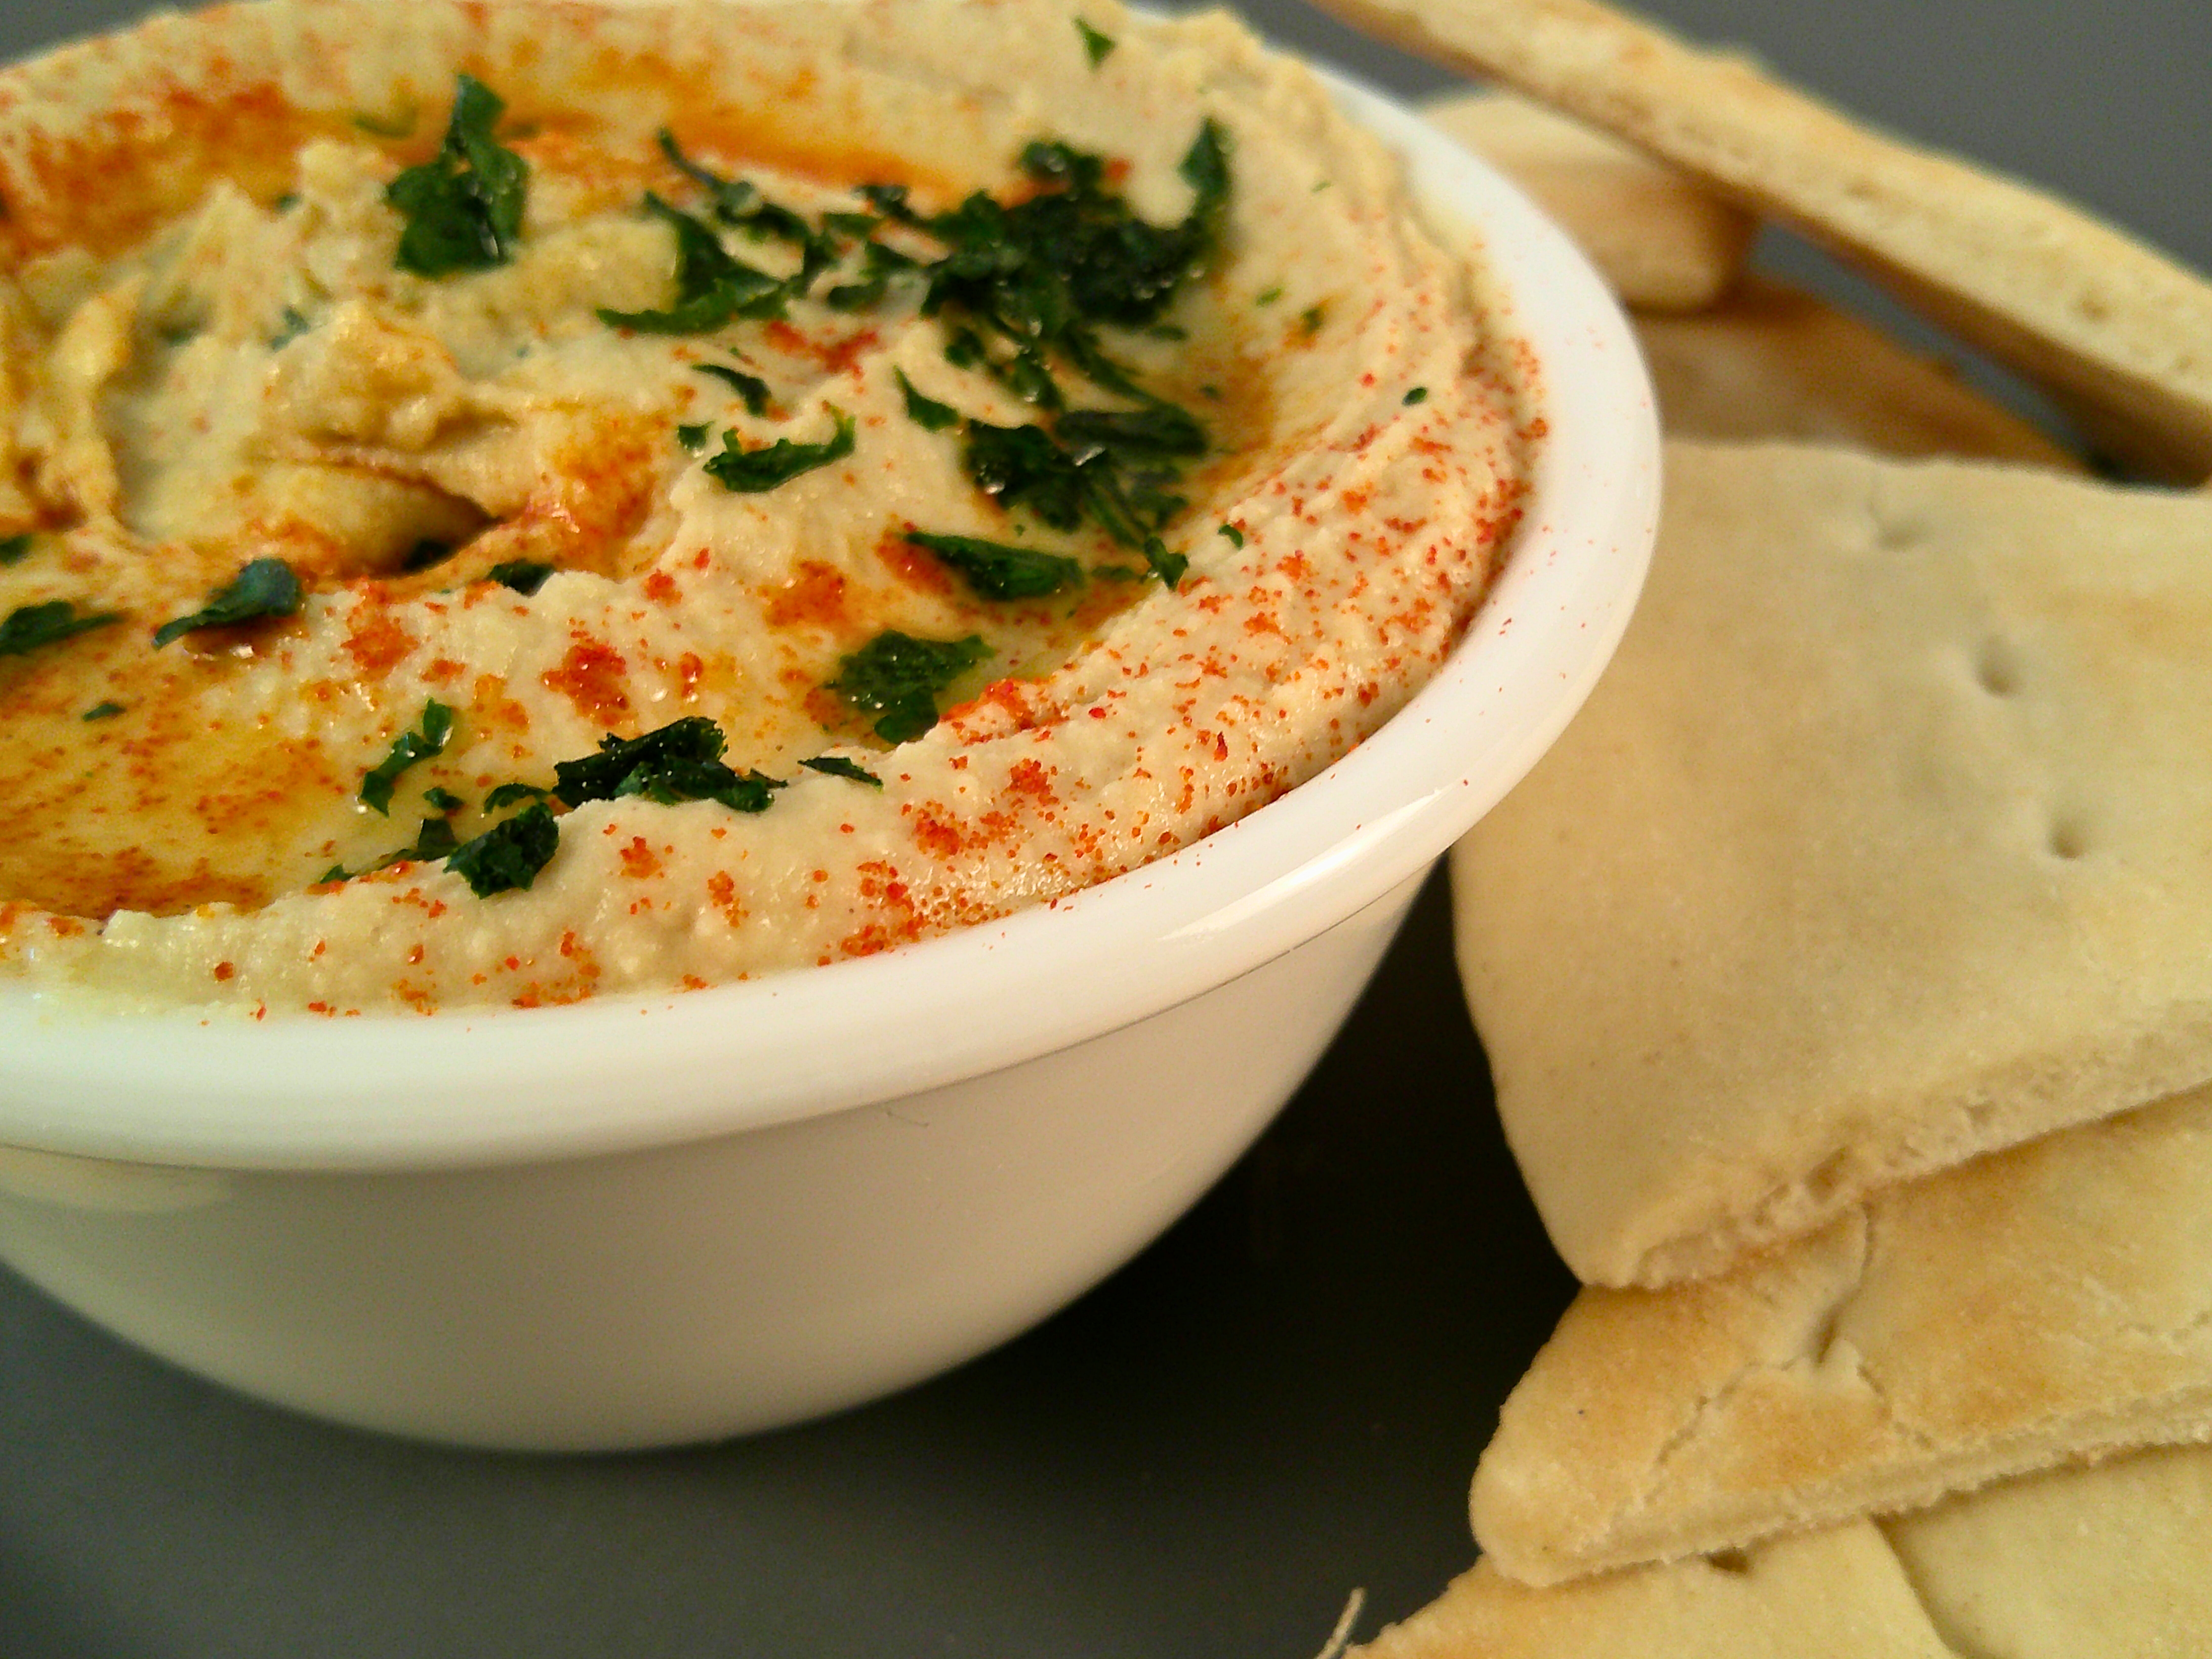
– Pita Bread or Chips: Warm, soft pita bread or crispy pita chips are perfect for scooping up hummus.
– Crackers: Serve hummus with your favorite whole-grain crackers for a crunchy, satisfying snack.
– Falafel: Hummus is a classic pairing with falafel, making a tasty, protein-packed combo.
– Salad Topping: Add a dollop of hummus to your favorite salad for extra flavor and creaminess.
Storing and Freezing Hummus
Hummus stores well in the fridge, making it an ideal make-ahead snack or meal addition. Here’s how to store and freeze it:
– Refrigerator: Store homemade hummus in an airtight container in the fridge for up to 5 days. If the hummus thickens, just stir in a little cold water to loosen it up.
– Freezer: Yes, you can freeze hummus! Place it in a freezer-safe container, leaving some room at the top for expansion. Hummus can be frozen for up to 3 months. Thaw it in the fridge overnight before serving, and give it a good stir to restore the creamy texture.
Common Questions About Hummus
Can I make hummus without a food processor?
Yes! If you don’t have a food processor, you can use a blender. You may need to stop and scrape down the sides more frequently to ensure everything blends evenly. If you don’t have a blender either, a potato masher will work, though your hummus will be chunkier.
Is hummus gluten-free?
Yes, hummus is naturally gluten-free! It’s made from chickpeas, olive oil, lemon juice, and seasonings—all of which are gluten-free. Just be sure to serve it with gluten-free dippers if necessary.
Final Thoughts
There’s no denying that homemade hummus is a game-changer. It’s simple to make, full of flavor, and much healthier than store-bought varieties. Whether you’re a hummus enthusiast or just starting to explore its versatility, this recipe is sure to become a staple in your kitchen. Enjoy it as a snack, spread it on sandwiches, or serve it at your next gathering—hummus is always a hit!
Happy hummus-making!

Easy Homemade Hummus
Ingredients
- 30 Ounces Chickpeas canned, drained, and rinsed
- 2-3 Cloves Garlic
- 3 Tbsp Lemon Juice
- 1 Tbsp Olive Oil
- 1/2 tsp Paprika
- 1/4 tsp Cumin
- To Taste Salt and Pepper
- As Needed Cold Water
Instructions
- Blend garlic and lemon juice in a food processor for 1-2 minutes.
- Add chickpeas, olive oil, paprika, cumin, and a pinch of salt and pepper. Blend until smooth.
- Gradually add cold water (1 tbsp at a time) while blending to reach desired consistency.
- Taste and adjust seasoning as needed.
- Serve with a drizzle of olive oil and a sprinkle of paprika.
I can’t wait to try this recipe…I love hummus 🙂
Awesome, thank you! I hope it becomes a new favorite in your hummus lineup!
I love hummus, especially homemade hummus. It’s been a long time since I made any, so this is a great reminder of how easy and delicious it is. I shall make up a batch soon.
Yummy, I’m always on the lookout for hummus recipes. Will have to try this one. Thanks for the recipe!
I appreciate it! I’m excited for you to try this version—let me know what you think!
I love that this doesn’t need tahini!! Putting these ingredients on my grocery list!
Thanks for the love! It’s such a fun twist without tahini—hope you enjoy it as much as I do!
Hummus is really yummy and versatile. This is a helpful recipe to make some independently. Wonder if you’ve tried variations – Roasted Red Pepper or with Beetroot.
This is our favoriteto make ahead for parties and gatherings!
Great reminder to whip some up again! Thanks for sharing ❤️
Thank you! I’m glad it inspired you to make some—enjoy every scoop! ❤️
I can’t wait to try this!
I’m excited for you to try the hummus—let me know how it turns out!
The obsession of making hummus at home is real for me. What a fantastic share.
I love hummus, but have never made it before. I will have to try your recipe! Thanks!